DIY’ers,
I’m going to walk you through how to install LED headlights and fog lights for 4th Gen Honda CR-V, 2012-2016. You can watch the full install video, or print this quick guide and take it with you!
First, make sure you’ve got a PrecisionLED DIY kit for your Honda CR-V.
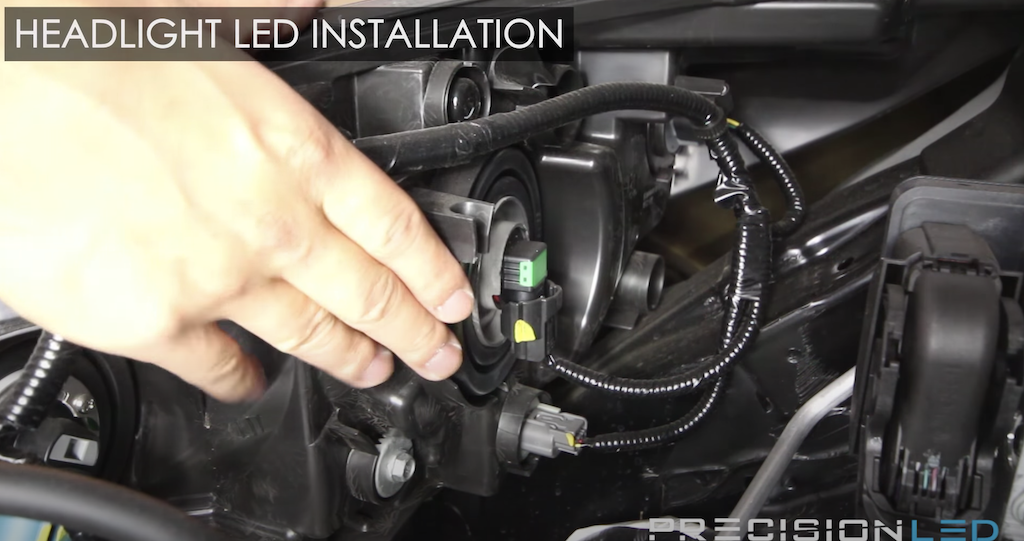
You will first want to head over to the passenger side and find the connector for the headlight, as shown below.
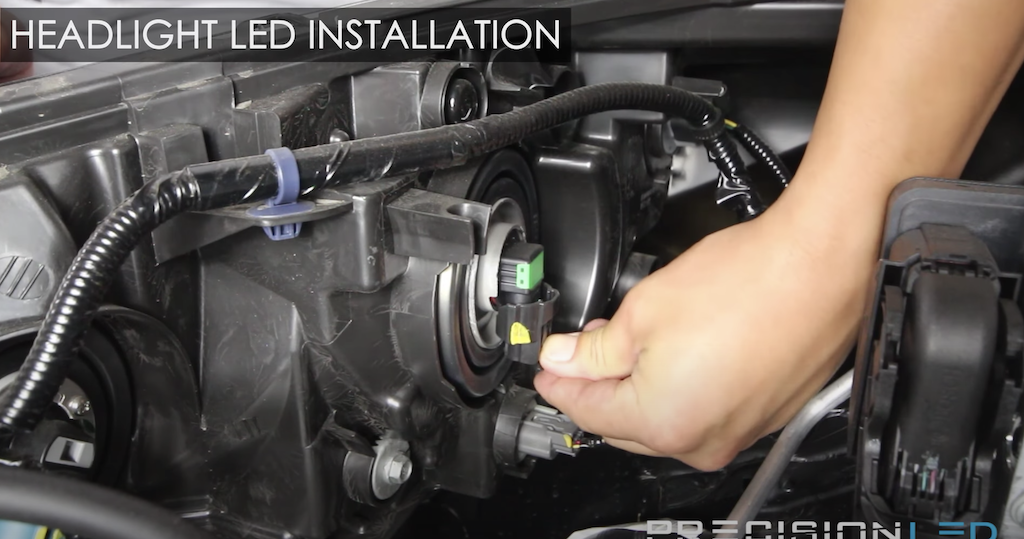
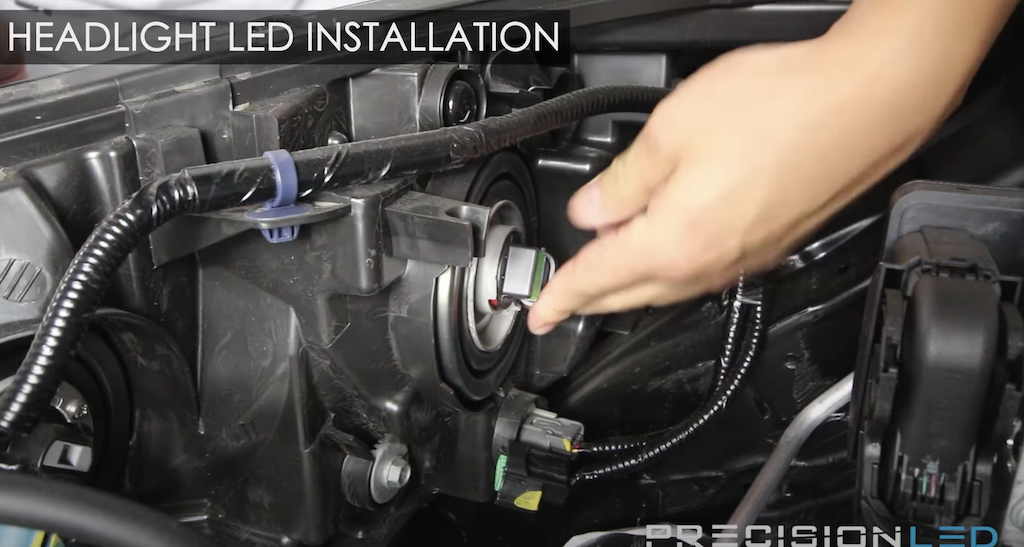
To remove the headlight bulb, you want to first remove the connector. Simply push down with your thumb and pull down. This will release the power connector.
Turn the piece still installed counterclockwise to unlock it. This will remove the old H-11 halogen bulb, so you can put new LED headlights in your 2012-2016 Honda CR-V.
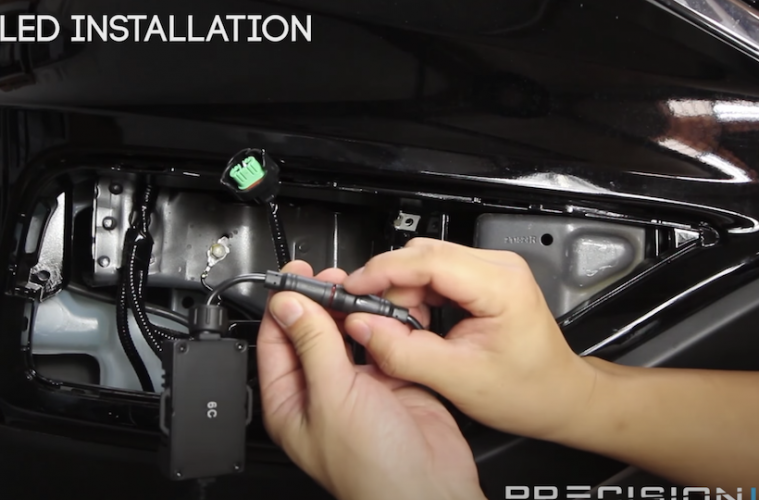
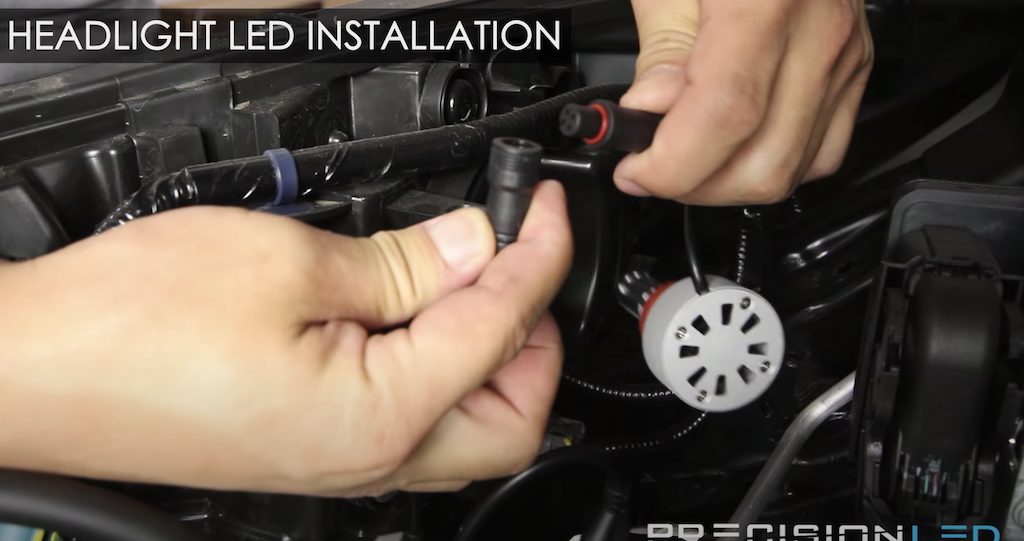
The Honda CR-V LED headlight system is a two-part system that has a power connector that goes from the ballast to the bulb. You will want to go ahead and plug them together. The rubber O ring prevents any damage, so make sure you seal it tight and screw the cap for extra protection.
The new Honda CR-V LED headlight bulb is a direct replacement, so it will fit right in without any issues. Turn it clockwise to lock it into place. It will have a motorized heatsink which will keep the bulb at the proper temperature.
You can now connect your power wire by inserting the female clamp into the top side where you used your thumb to put pressure, locking in place. Before going any further, just test the light to make sure everything is working right.
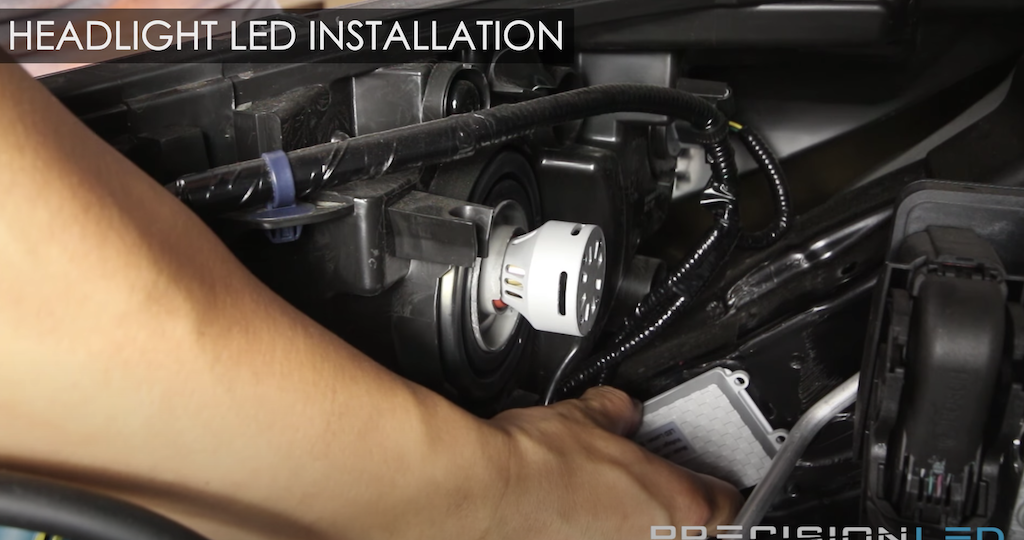
Next, you want to prepare the surface for where you will mount your ballast. You will want to use some degreaser and a cloth to wipe down the surface. After that, you can use the 3M mounting pads that came with your Honda CR-V LED headlight kit and apply it to your ballast. Apply some pressure to get good adhesion.
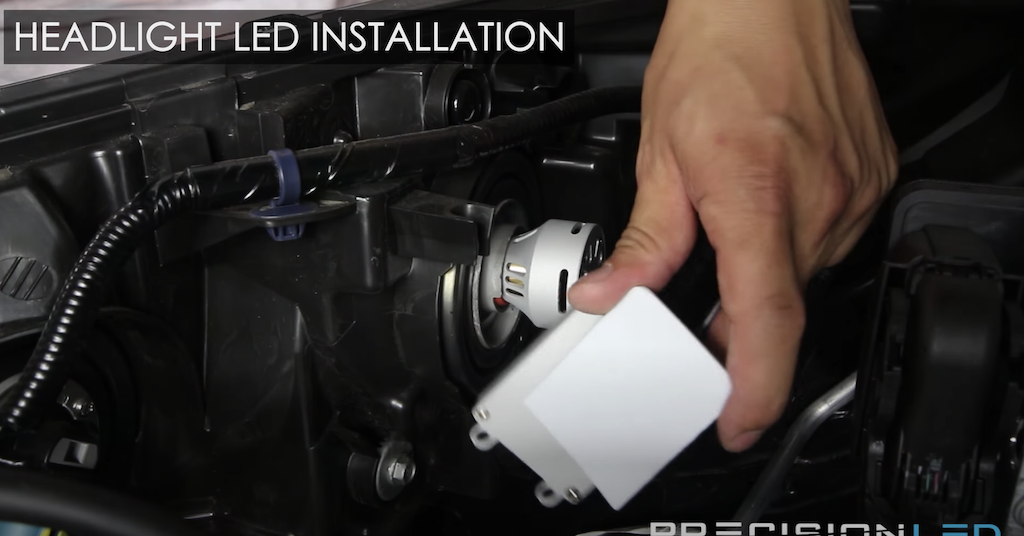
Remove the backside of the tape and attach it to the area you cleaned. Push it down to firmly affix it. The process is the same on the driver’s side.
Fog Lights
So far, so good. But you’re not quite ready to show off your 2012-2016 Honda CR-V’s new LED headlights just yet.
Moving over to the fog lights, we will start at the passenger’s side. We will use the fork-shaped wedge tool first to help us remove the front panel to access the bulb. The entire assembly pops out, along with the light assembly.
You will want to start by inserting from the side, unlocking a series of tabs holding the light in place.
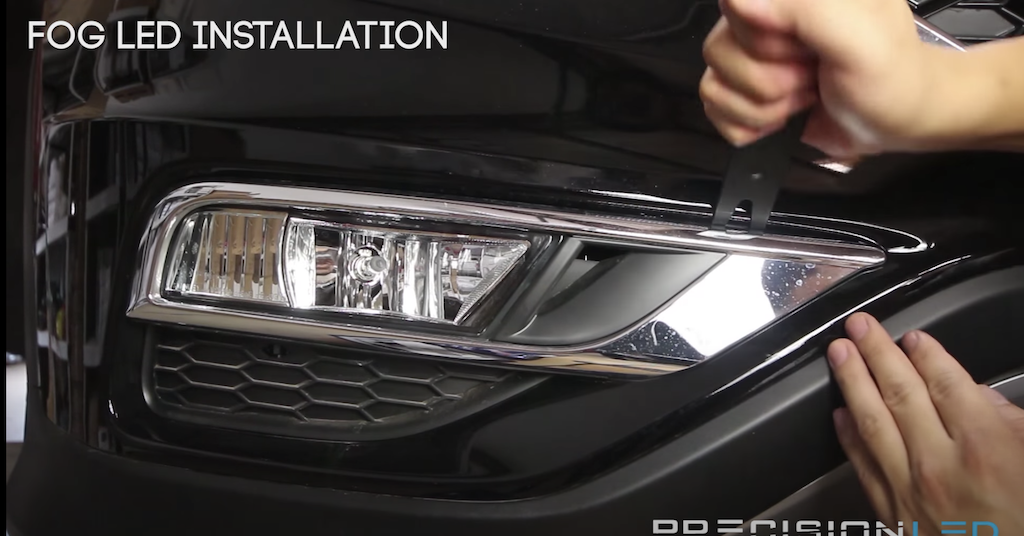
Starting at the top, unlock the tabs with your tool. You want to get the bumper to unclip. There are a series of clips on the bottom as well, where you will need to lift up with your tool. After all of the clips are released, you will be able to pop out the casing.
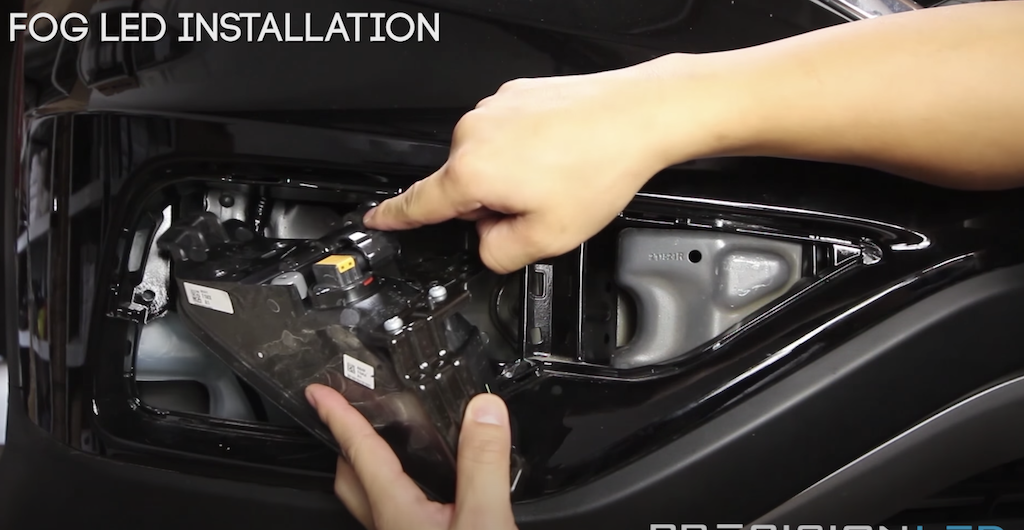
You will need a Phillips head screwdriver for the next step due to there being a bolt behind the light casing. Once you unscrew it, there will be a clip down below that requires you to push down on the casing and then pull out. This will remove the entire assembly of your newly-upgraded Honda CR-V LED headlight. Now, you have access to the back side of the assembly where your fog light is located.
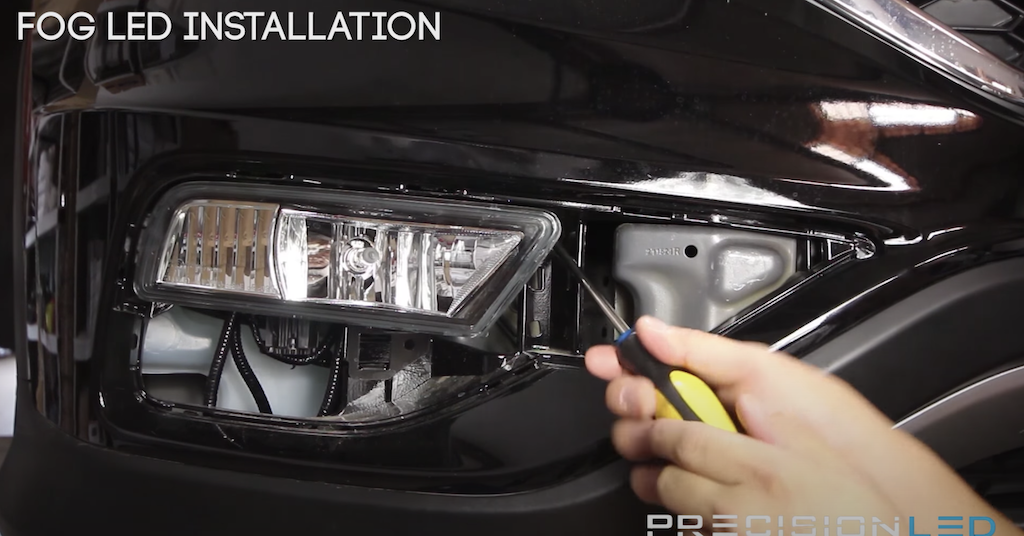
Remove the power connector and turn counterclockwise to unlock the halogen bulb, which you can then remove.
The new Honda CR-V LED headlight bulb is a two-part system. You will want to make sure that the water seal is screwed on. There is a rubber O-ring in there to help waterproof the connection.
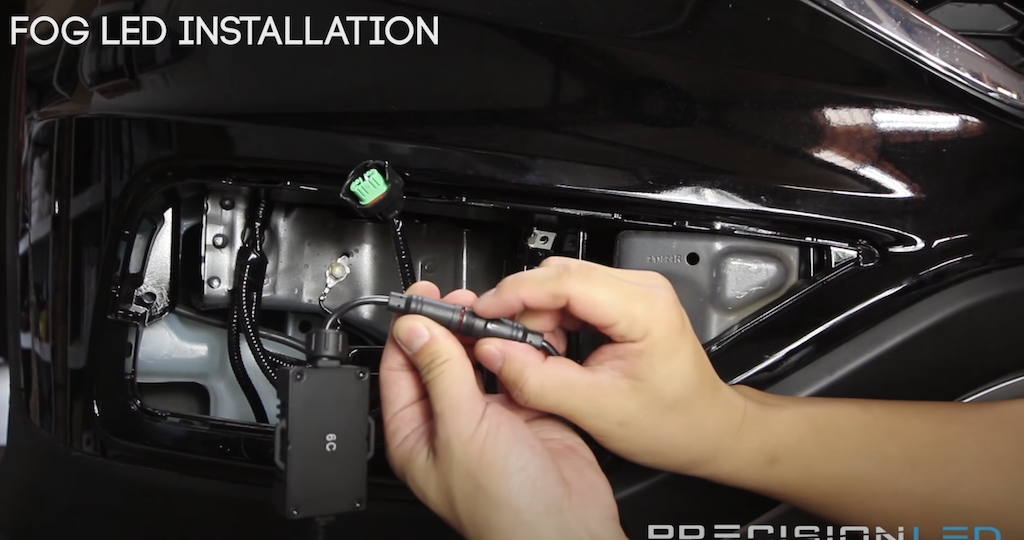
You will want to connect the power. The female clip will lock into place. Add the new LED into the place where the halogen bulb was.
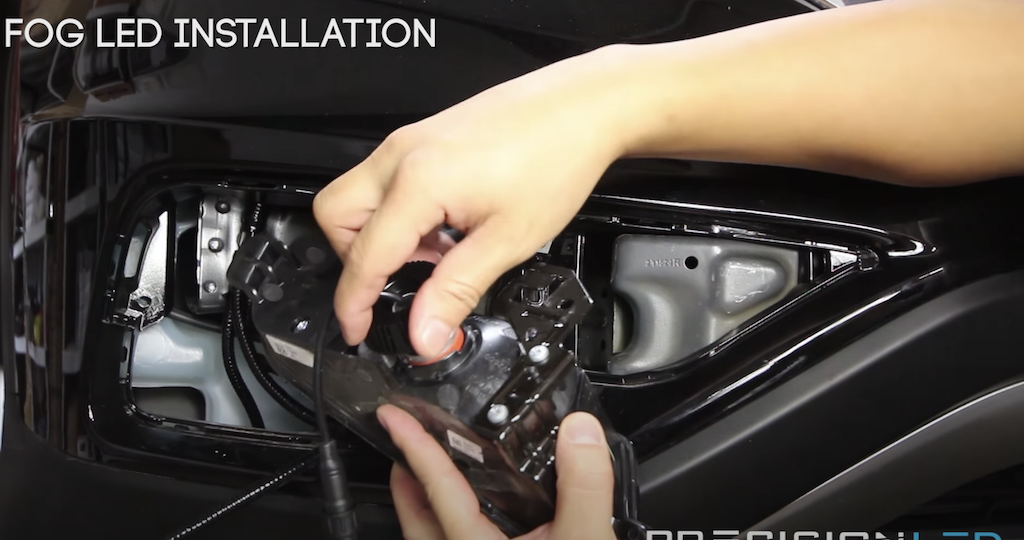
Next, you want to mount the ballast on the interior. Take a rag and degreaser to clean the surface where you will mount the ballast. Use the 3M mounting tape that was included in your 2014-2016 Honda CR-V LED headlight kit.
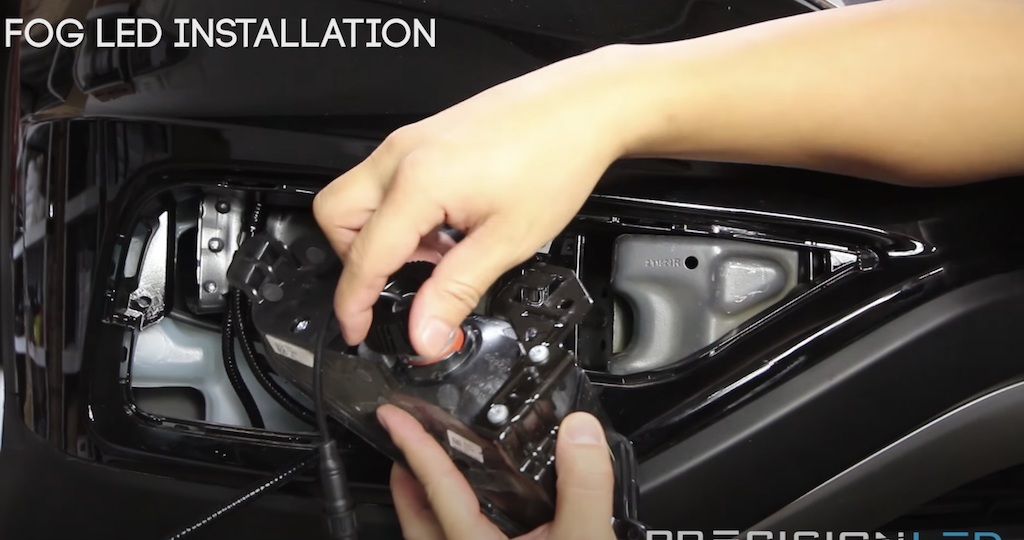
Next, insert the housing with the tab shown below going in first at an angle. Start down and make sure this locks into place. You can then screw it in. But first, test the Honda CR-V LED headlights to make sure they work. Finish screwing the housing into place after you are done testing.
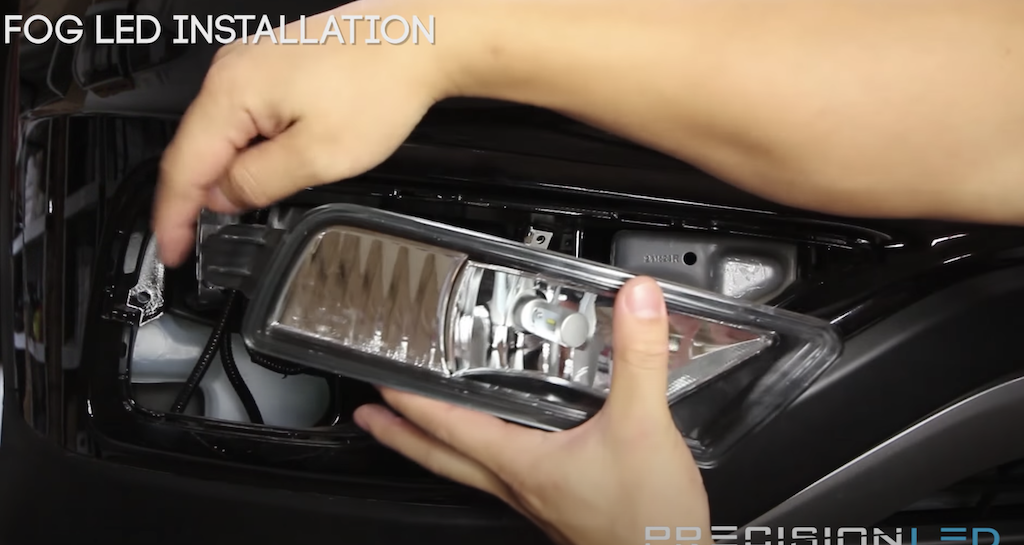
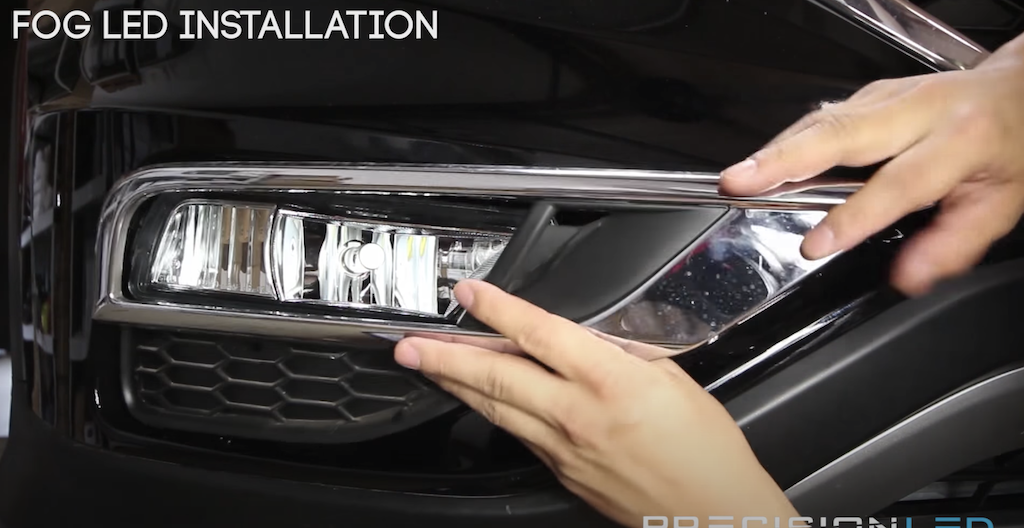
Place the outside casing back over the light assembly, starting at the far side as before. Each of the tabs should lock into place by going into the slits. Otherwise, the connection will not be secure.
If you have questions just leave a comment below or email us at Help@Precisionled.com. Email will automatically open up a service ticket and one of our amazing support specialists will do their best to assist you. You can also call our help center or visit our FAQ page. We want to make sure you get your new LED headlights installed easily, so you can start showing off your 2012-2016 Honda CR-V.
You can find more helpful videos like this for other makes and models in our free video library. We’ve also got more useful articles on the rest of our blog.
We give you the knowledge and equipment you need to outfit any Honda vehicle, so you can always put your trust in PrecisionLED.
Cheers,
-Phil @ PLED

