DIY’ers,
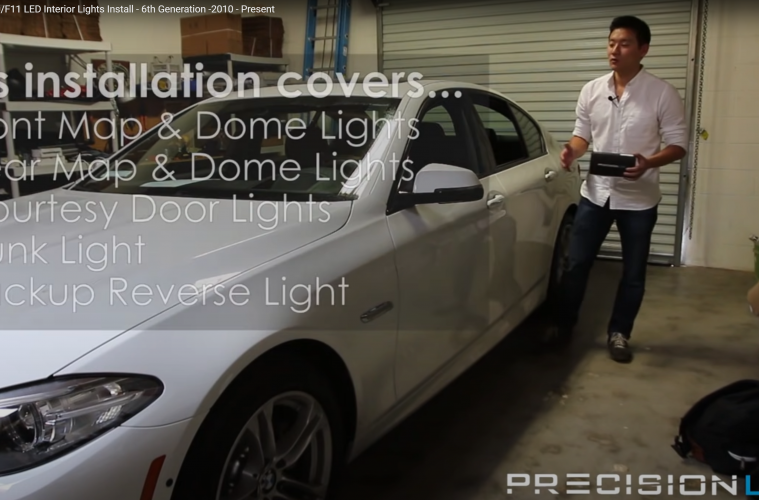
I’m going to walk you through how to install LED interior lights on the 5th generation BME 5 Series. We will be using the crowbar tool to pry open the console. Pull it forward and down once it’s loosened.
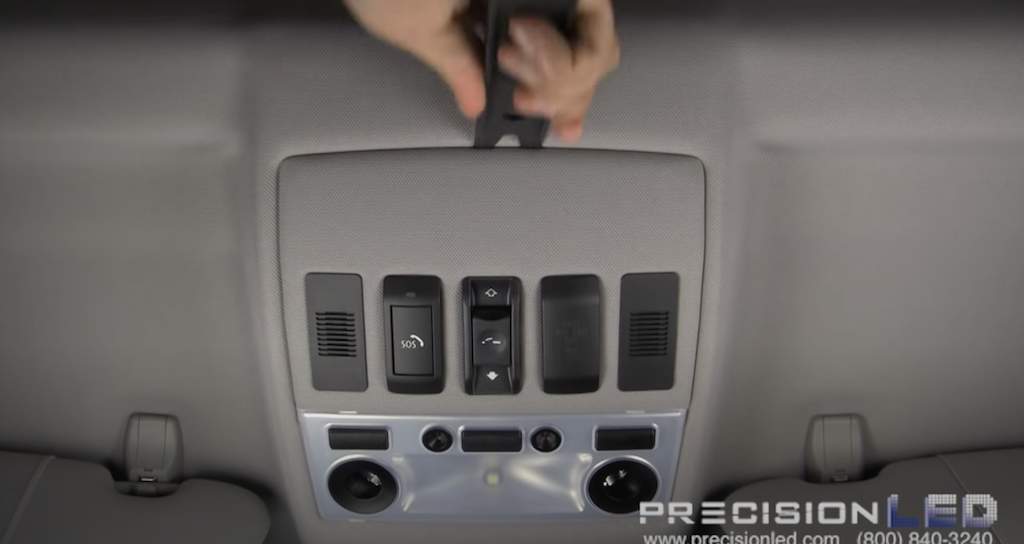
To remove the front end of the console, push on the two clips as seen below. This will release the housing.

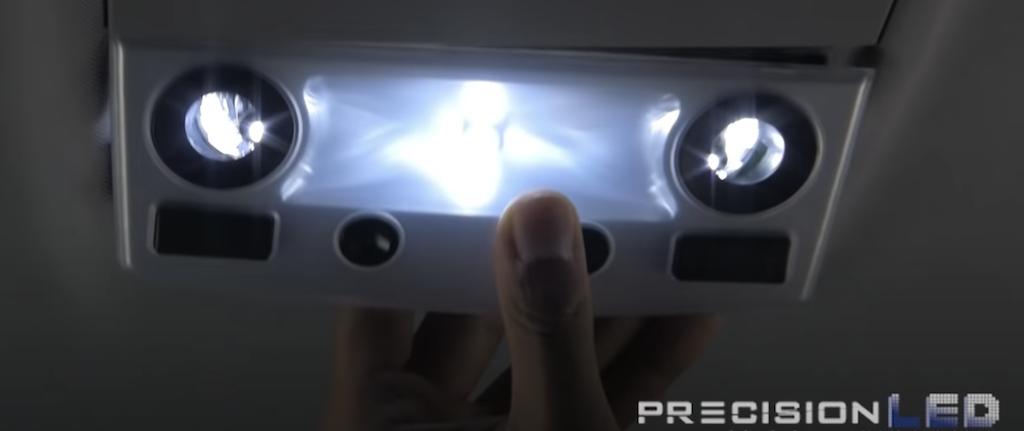
You will then want to pull out the wiring to disconnect the power. Do this by pressing the notches on the sides. The left and right bulbs are the map lights while the center bulb is the front dome light.
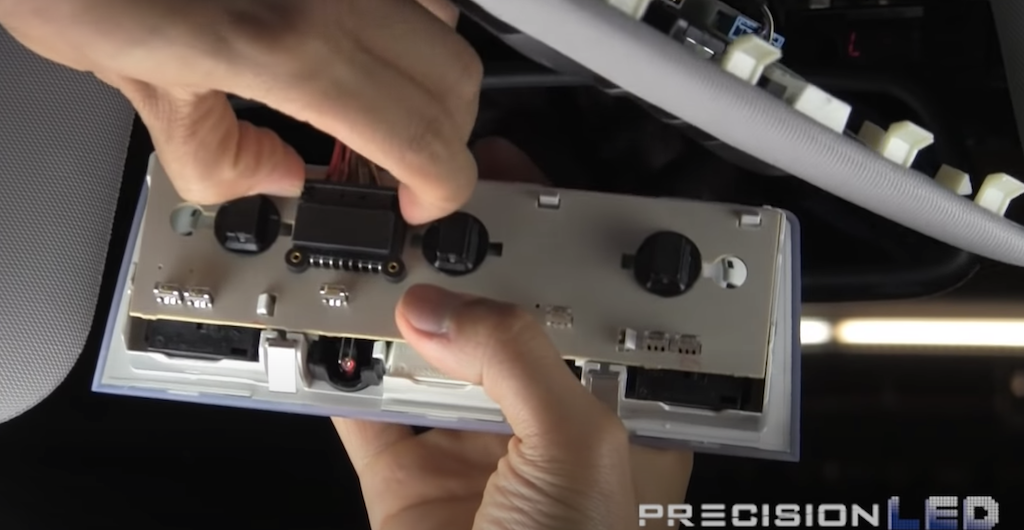
To replace the bulbs with LEDs, simply twist and turn to remove them from the housing. Once the bulbs are removed, simply pull down to release them from their direct housing. Simply insert the LED into the housing as shown below.
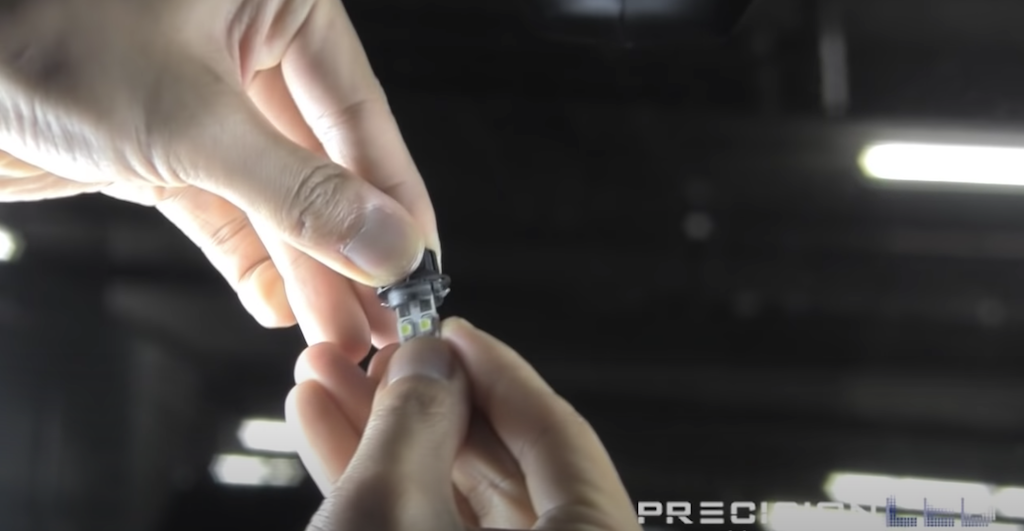
Place the light back into the housing. To lock it in, turn clockwise. You can test the lights to make sure they work before reinstalling it back. Push the wires in and insert the front of the console first.

Once it’s in, simply push up and lock it into place.
Rear Overhead Console
Use the flat end of the serrated knife tool to get into the rear overhead console lights. Pry from the rear to remove the console. There are two clips underneath the ledge. Simply wedge in and pry the console loose.

Next, go ahead and detach the cord. Press and pull. The process is the same for the rear console as it is for the front console when it comes to removing the bulbs. Twist and turn counterclockwise and pull the bulbs out. Remove the halogen bulb and replace it with the LED. Then, place the bulb back into the console, turning clockwise to lock the bulb in.
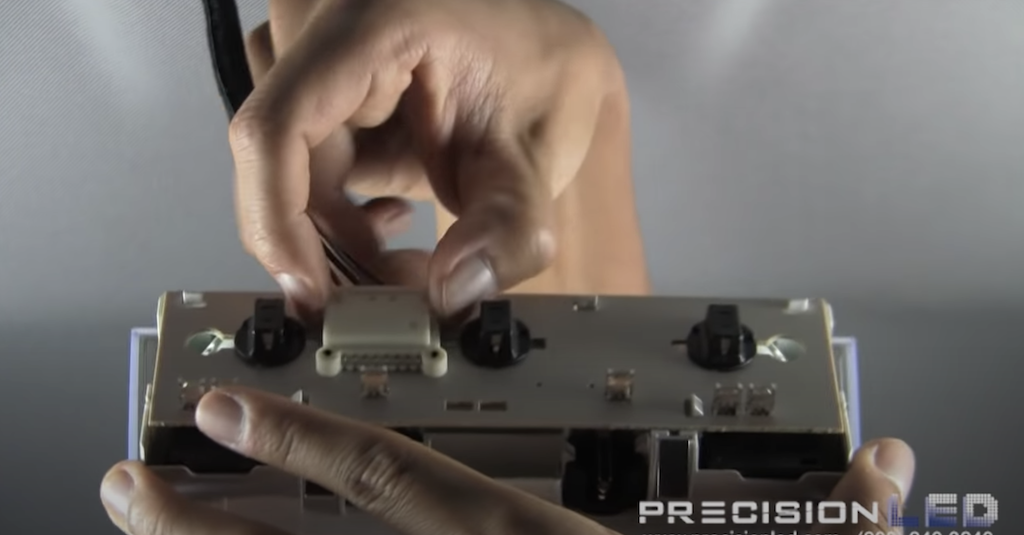
Test the lights to make sure they work before reinstalling the overhead console. Then, plug the wire back into the console. Place the front end in first. Make sure it’s flush and then push it into place.
Passenger Footwell Light
We’re going to move over to the passenger footwell light. We will be using the flat end of the serrated knife tool to pry from the side with the notch in it.
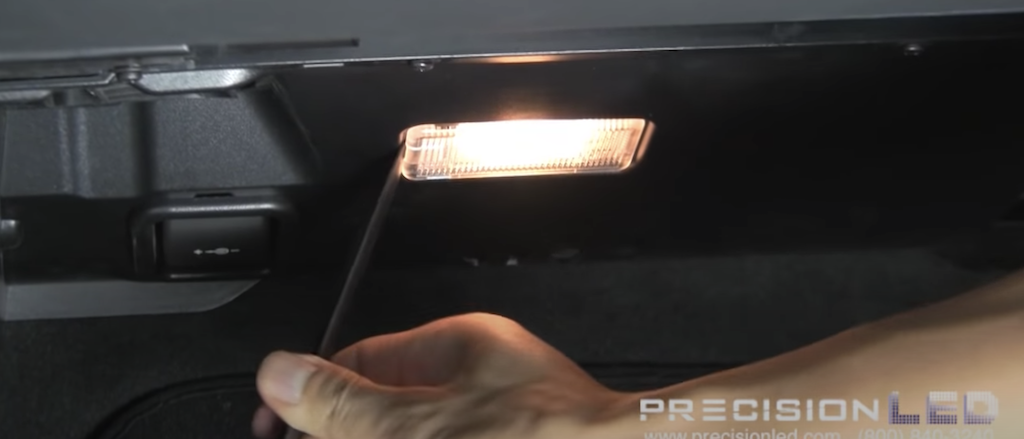
Turn the footwell light off before moving forward so you avoid burning yourself. Directly pull from the plastic piece of the wiring. With the footwell light detached, you can then access the bulb under the metal plate featured on the casing. Push the metal plate on the side where the clip is, making sure you are being gentle enough to not break it.
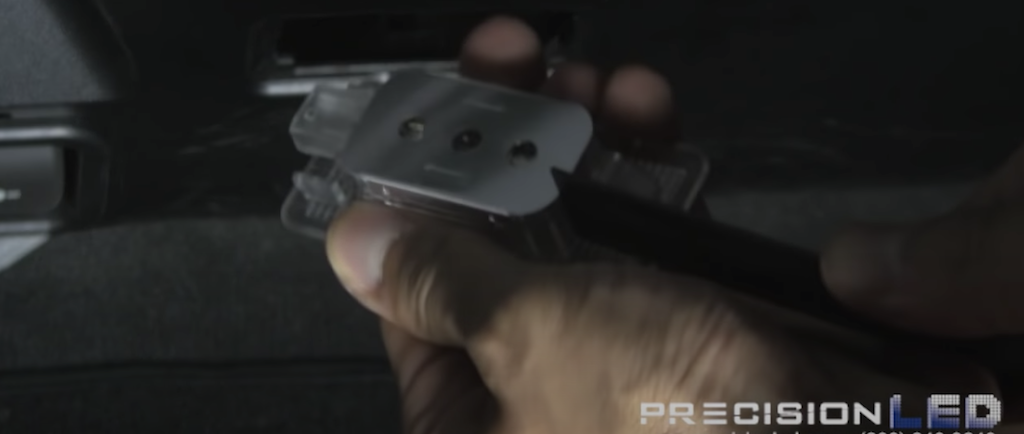
To remove the bulb you will want to use the tip of the serrated edge, prying it out from the casing. Then, replace the halogen bulb with the LED. Since it’s polarity-specific, if it doesn’t work one way, just turn it around and insert it the other way. Finally, test to make sure the light works. If it doesn’t, just switch the LED around.

Replace the metal cover over the bulb, towards the plastic clip while sliding it back in. Reattach the wires and reinstall the passenger side light.
Door Light
We will now move over to the door light. Take the serrated knife tool and use the pointed edge to wedge it into the side with the ledge designed for removing the housing. Gently pry it out of the door.
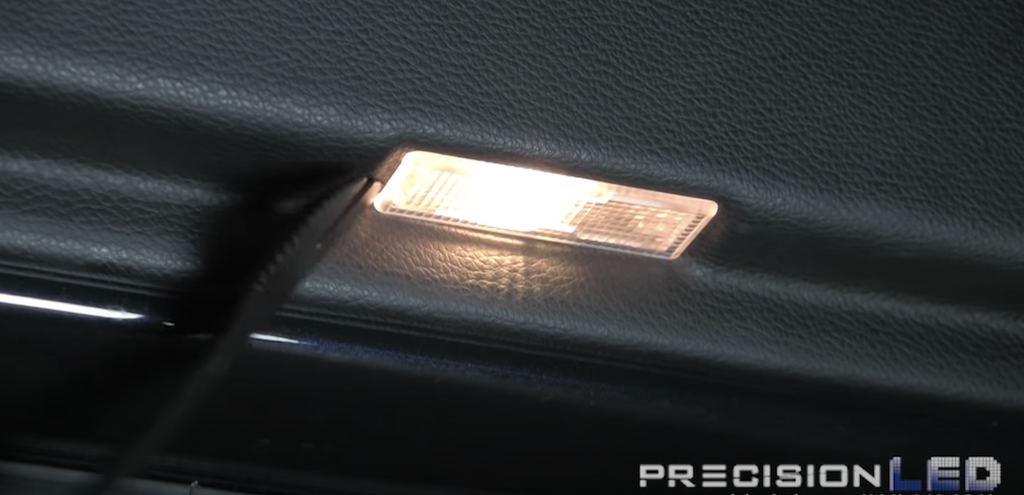
Remove the bulb housing from the wire by simply pulling it out. Use the pointed wedge tool to pry the end of the bulb to push it out a little bit and pull it out at the other end. Then, just install the LED bulb. Test the bulb to make sure it works properly. If it doesn’t, just switch it around 180 degrees.
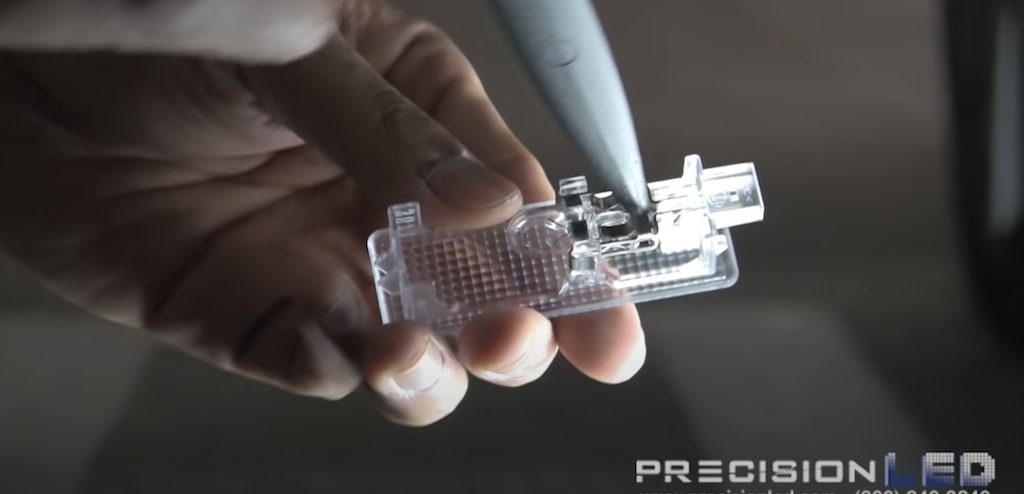
Reinstall the door light, placing the wire in first.
License Plate Light
Finally, we will remove the license plate light using the rounded end of the pointed tool. Just push in the notch groove end and remove the housing.
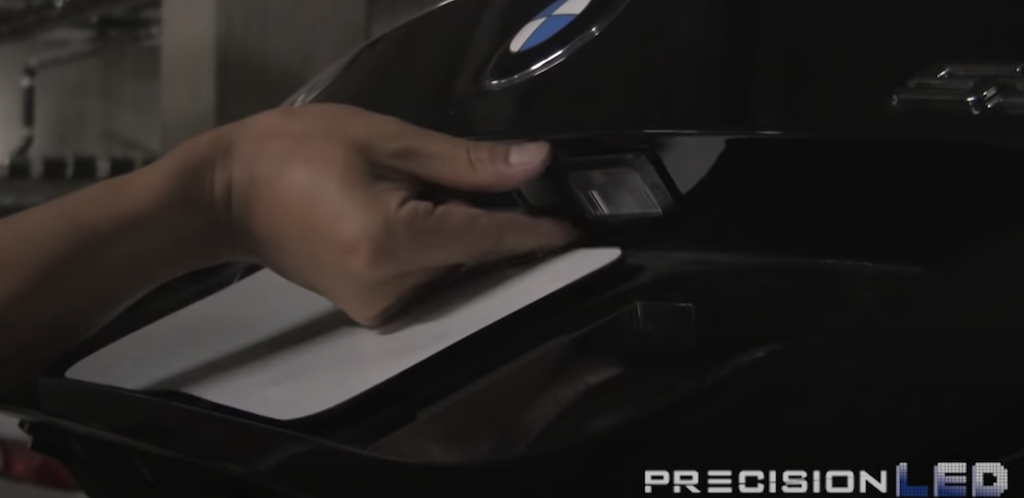
Unplug the wires from the housing by pulling them. Remove the halogen bulb from the socket and replace it with the LED.
Finally, reinstall the side with the housing first that has the wiring. Push down and push in on the side with the grooved notch.
If you have questions just leave a comment below or email us at Help@Precisionled.com. Email will automatically open up a service ticket and one of our amazing support specialists will do their best to assist you.
Cheers,
-Phil @ PLED

