DIY’ers,
I’m going to walk you through how to install LED headlights on 3rd Gen Jeep Wranglers from 2006 and up, for the Unlimited Sport, Rubicon, and Sahara editions. You will need a T15 torque wrench and a flathead screwdriver. You can watch the video here, or scroll down to read the shortened guide.
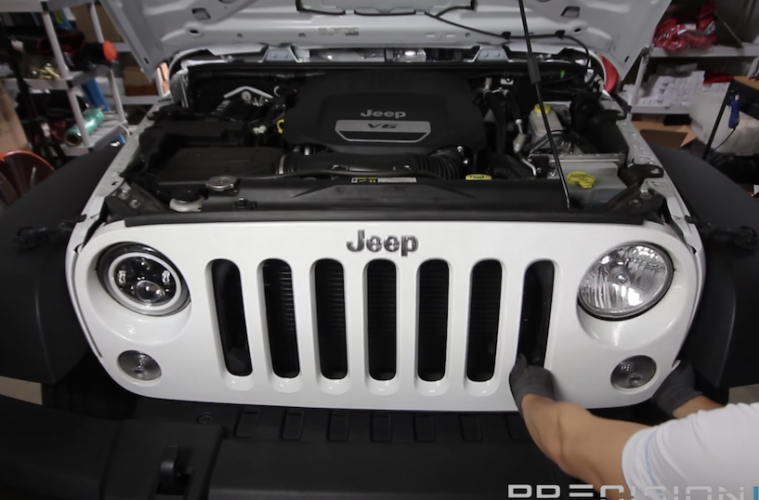
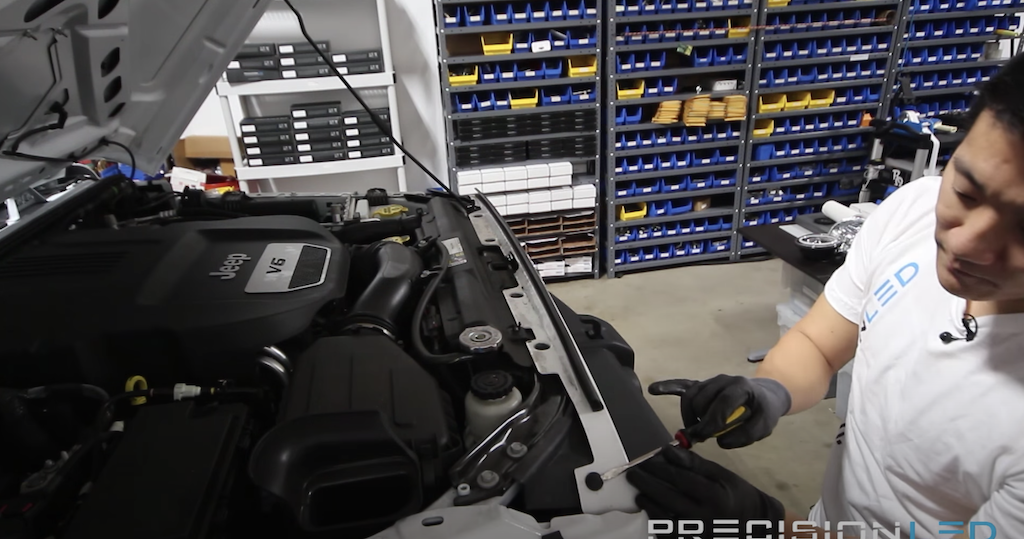
First, pop the hood to gain access to the grill, which will need to get removed. Use your flathead screwdriver to release the pull-tabs at the top of the grill. There will be six of them that you have to remove. Start on the side and work your way to the other end.
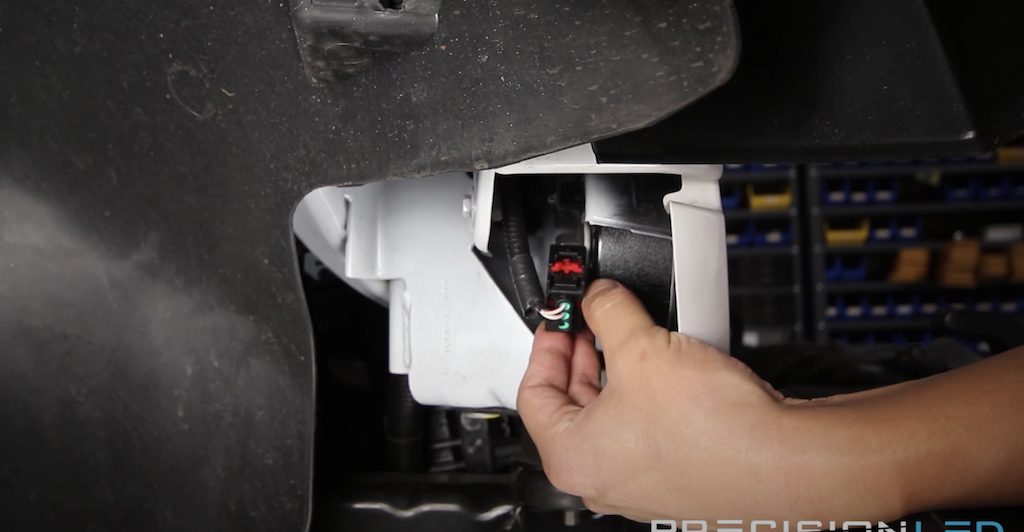
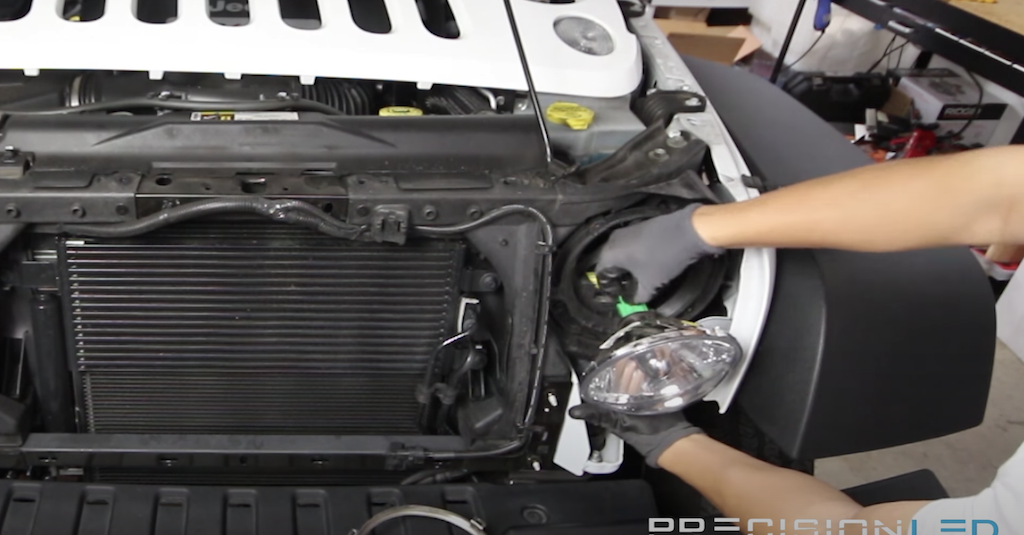
Move over to the passenger side to remove the connector for the bulb. Pull the red tab back until you hear a clicking sound. That allows you to push down on the tab and release it. That will get the connector out. Repeat the same process on the driver’s side which will let you remove the front grill.
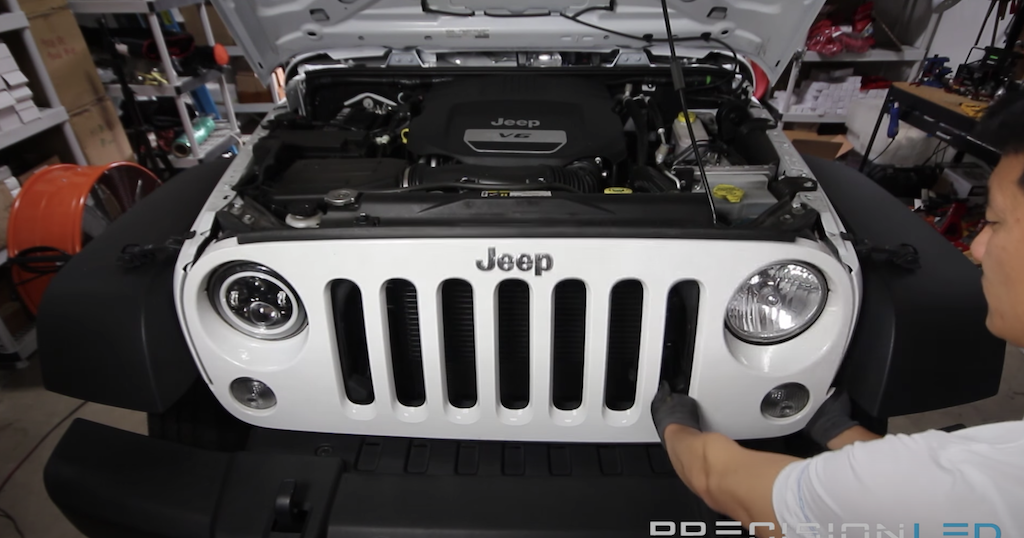
Begin pulling from the bottom of the grill to release it out of its place. Do this on both sides.
There are four T15 bolts around the headlights, which are keeping them in place. Take your T15 torque wrench to remove these.
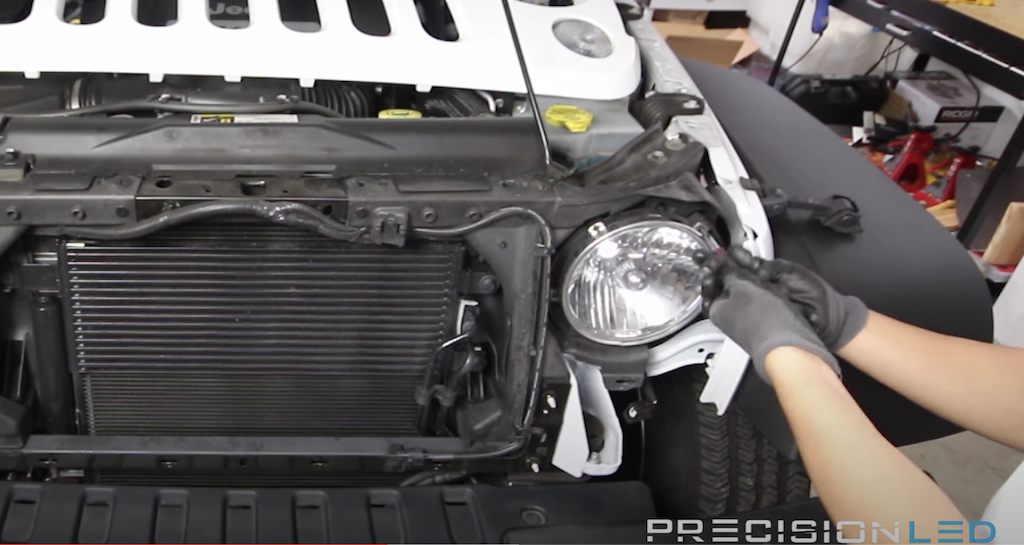
Once you complete this step, you will need to separate the chrome cover of the light itself. To remove the old headlight, you will have to pull out the connector. You will find another red locking pin here as well that you need to pull and release from the connector.
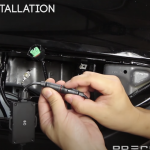
Our LED headlight uses and H4 connector, which differs from the native connector. You will have to use the included converter and capacitor. The first step here is to connect the adapter.
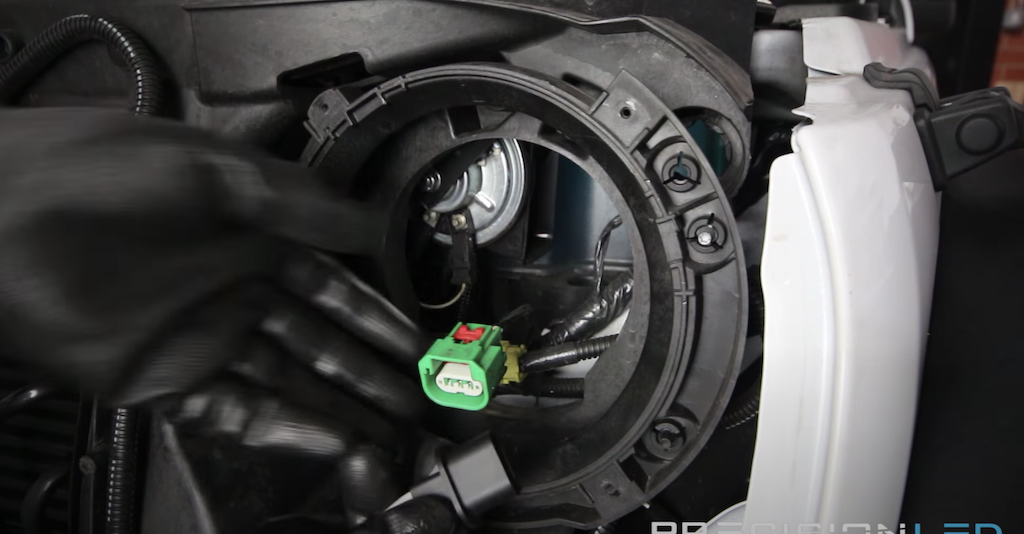
Next, you will plug in the capacitor.
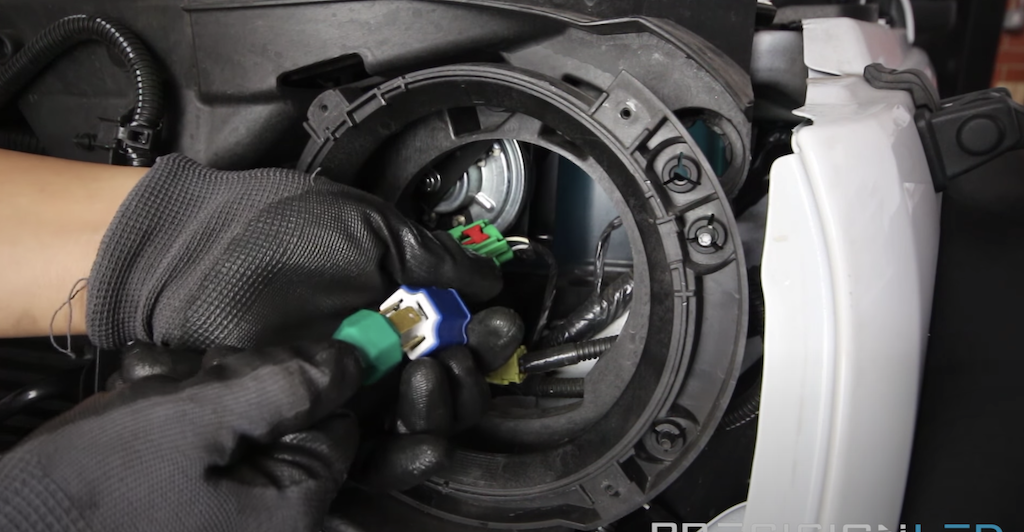
Finally, you will plug the capacitor into the actual headlight. There is plenty of room in the assembly for the components to go inside.
Next, make sure there are three guiding rails that will help you get the headlight into place. Make sure they line up when reinstalling the headlight. Then, place the ring back on top. The portion where the ring connects to itself goes on the bottom. Screw the ring back in.
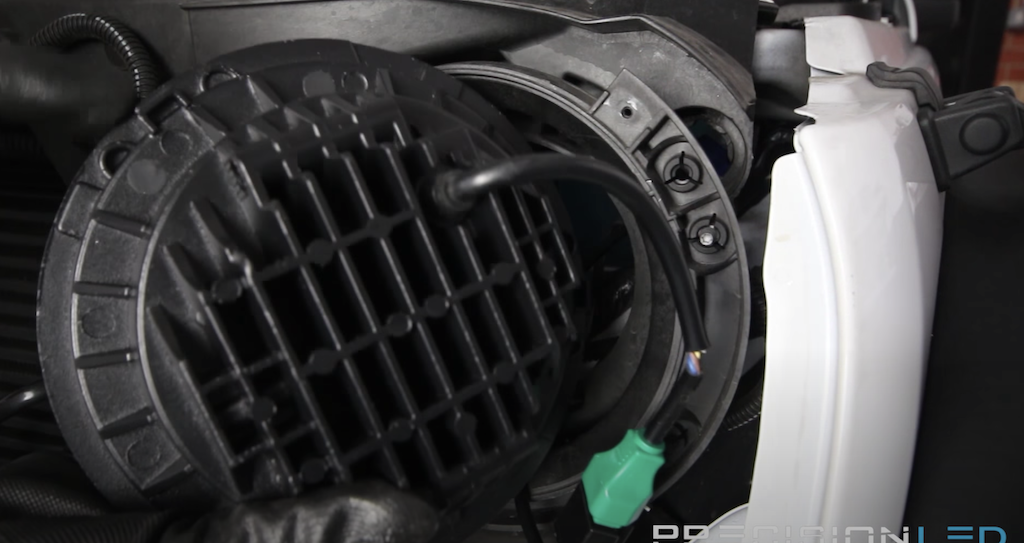
Before you go ahead and reassembler everything, make sure the light works. You should also test the high beams as well. Once you have confirmed that everything is in working order, you are ready to conduct the final assembly. To reassemble properly, make sure the connectors for the turn signals are connected back as well.
To get the grill back into its rightful place, we will connect from the bottom first. There is a central pin where the guiding pin goes in. Line that up first before applying pressure to all of the other clips, which should snap into place.
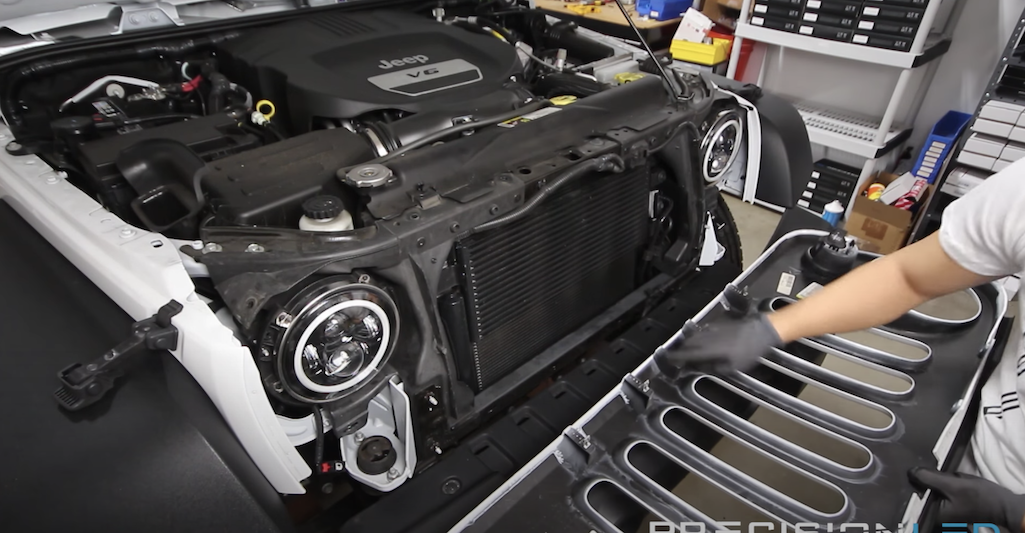
Once the bottom section is secure, you are going to take the six tabs you pulled out earlier and insert them back in. Insert the central tub portion in first, so that it will snap into place and lock it. Do this for all six.
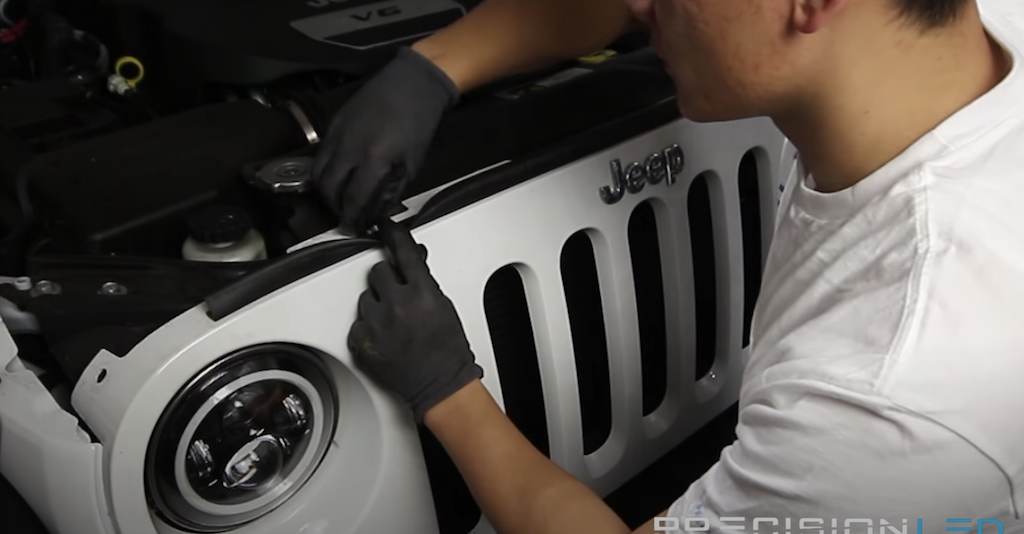
At this point, you want to make sure that you reconnect the turn signals, so go ahead and do that. Take the red locking pin and push it in to make sure the connector doesn’t come out.
Finally, go ahead and test the lights out, including both low and high beams. Also, make sure the turn signals work as well.
If you have questions just leave a comment below or email us at Help@Precisionled.com. Email will automatically open up a service ticket and one of our amazing support specialists will do their best to assist you.
Cheers,
-Phil @ PLED

