DIY’ers,
I’m going to walk you through how to install Audi A3 interior lights. This installation will be compatible for models made between 2003 and 2012. Audi has a sensitive electronics system, which means if a bulb goes out, you’ll see a message on your dashboard that will tell you so.
The PrecisionLED package includes the LEDs you can use to replace your old bulbs.
Audi A3 LED Lights Package — Contents and Features
Purchase the PrecisionLED Audi A3 Package Here!
- CANBus Resistor Package LEDs
- Professional Interior Trim Tools
- Guaranteed No Error Warning Lights
You can watch the install video on our YouTube Channel, or read and print these instructions below!
Front Overhead Dome and Map Lights
Replacing the front overhead dome and map interior lights in your Audi A3 will be a two-step process. Use the crowbar tool to work your way around the rim of the clear lens cover to release it. You will see a few rails and clips holding it in place.
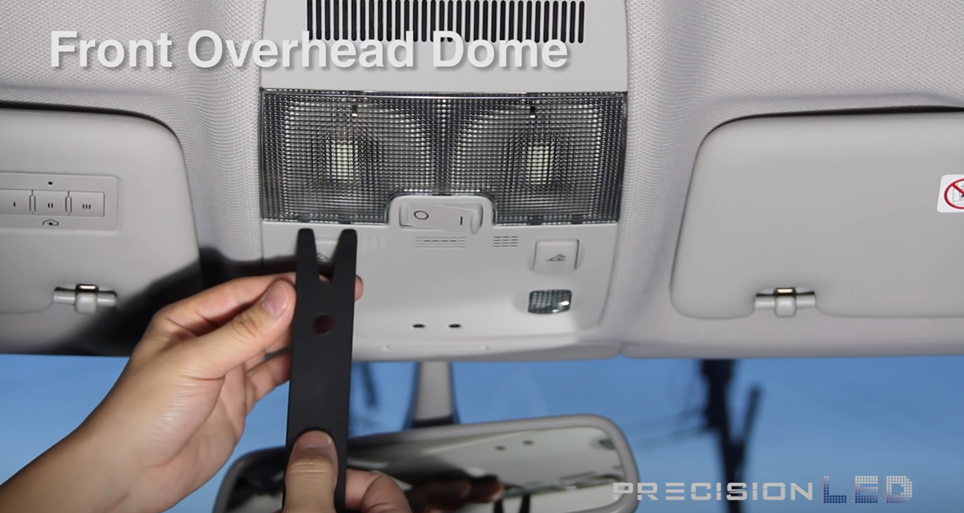
You can remove the existing Audi A3 interior light bulbs manually with your hands and then replace them with the Precision LEDs. Since these are polarity-specific, you may need to reverse them if they’re not turning on.
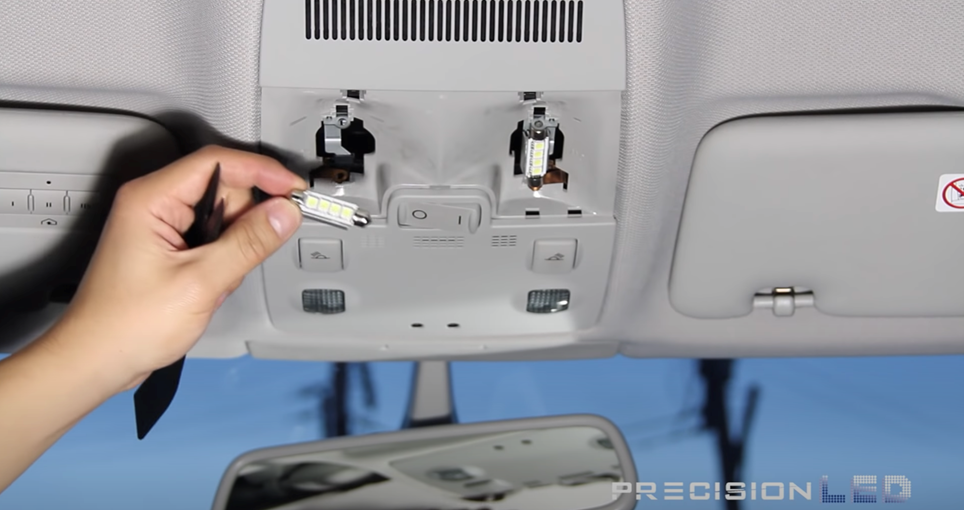
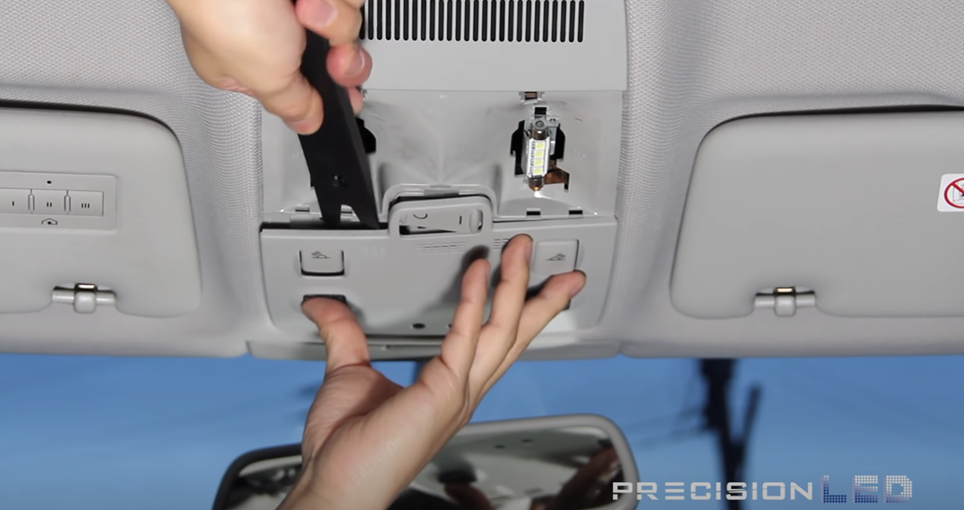
To access the Audi A3 interior map light LEDs, you will use the same crowbar tool to release the panel from the overhead roof liner on all four sides. Just work your way around with the tool to release all four clips. On the back panel, you will be able to see where each clip is attached.
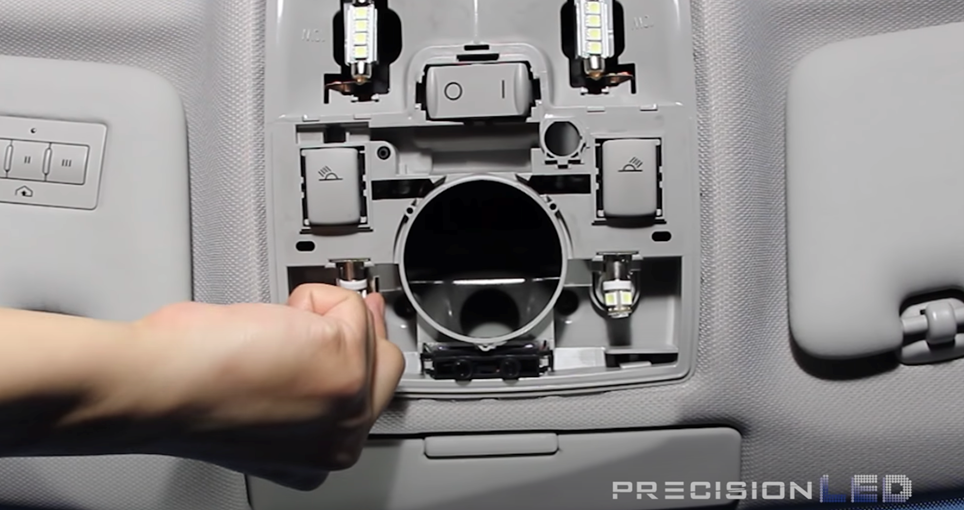
The map lights can be released by pushing and turning counterclockwise to release the bulbs. Then, take the new LED and insert the bulb, turning it clockwise to secure it in position.
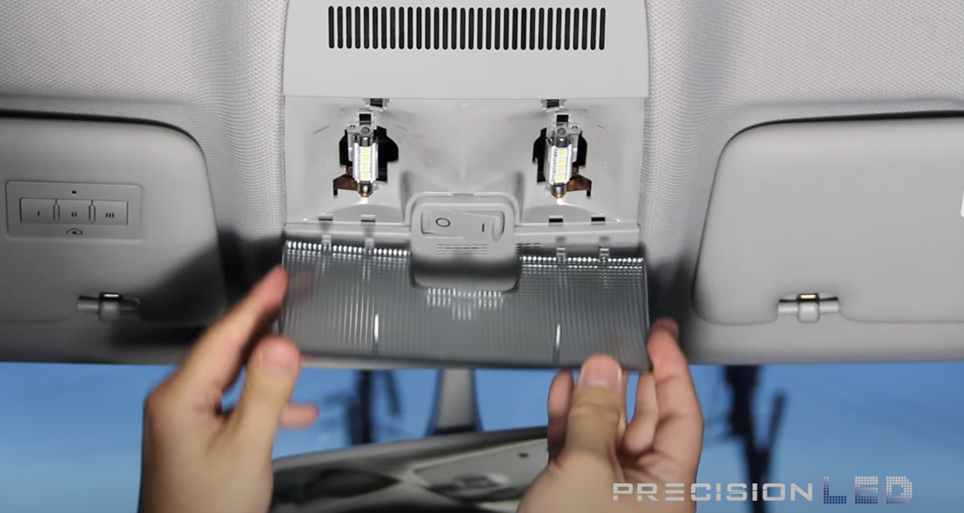
Once you’ve tested all of the bulbs and made sure they work, you should put all of the trim panels back into place. Start with the cover that holds the Audi A3 interior map lights in place first and insert the dome light cover to finish up your work.
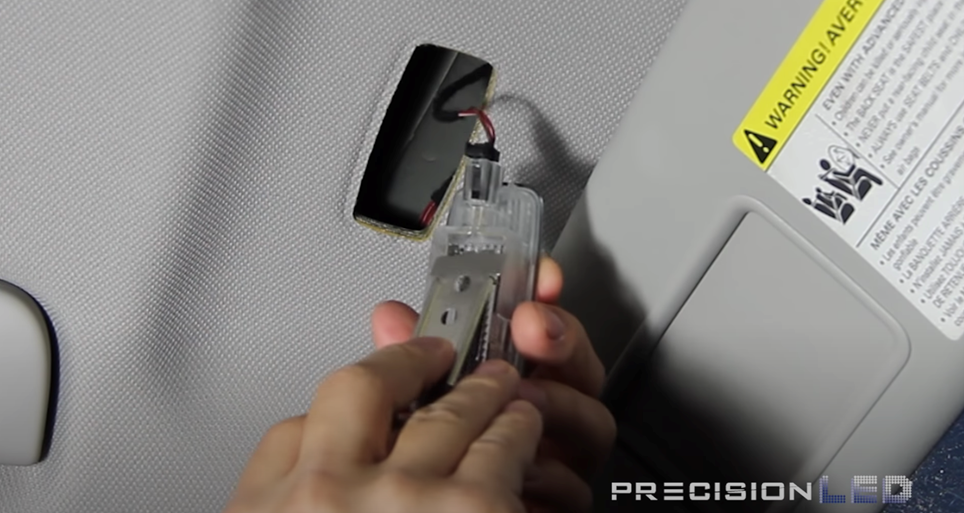
For the front overhead dome lights, you will be using the pointed wedge tool to release the vanity mirror housing from the overhead lining. Use the pointed end on the side that has the indentation to pry out the housing.
Vanity Mirror LED Lights
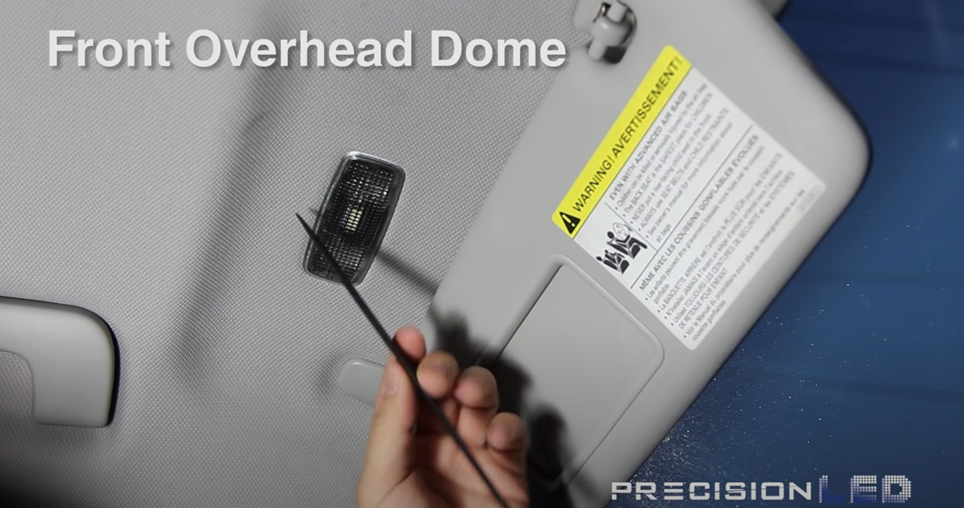
You will then use the pointed wedge to release the metal-backed reflector plate to gain access to the Audi A3 interior light bulb. You will be replacing the bulb and first testing it before reassembling the housing back into the liner to make sure it works. This will also be a polarity-specific bulb, so if it doesn’t work then reverse it and insert it again.
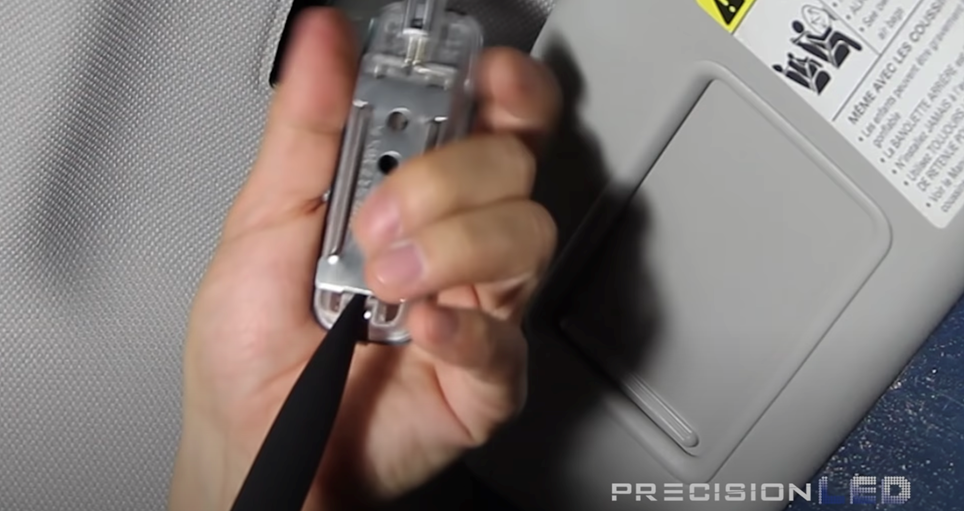
Place the metal backing back into place before reinserting the light back into the roof liner.
Audi A3 Interior Trunk LED Lights Install with Resistor
The trunk light will require two tools, along with a resistor and quick-splice connectors in order to install the light properly.
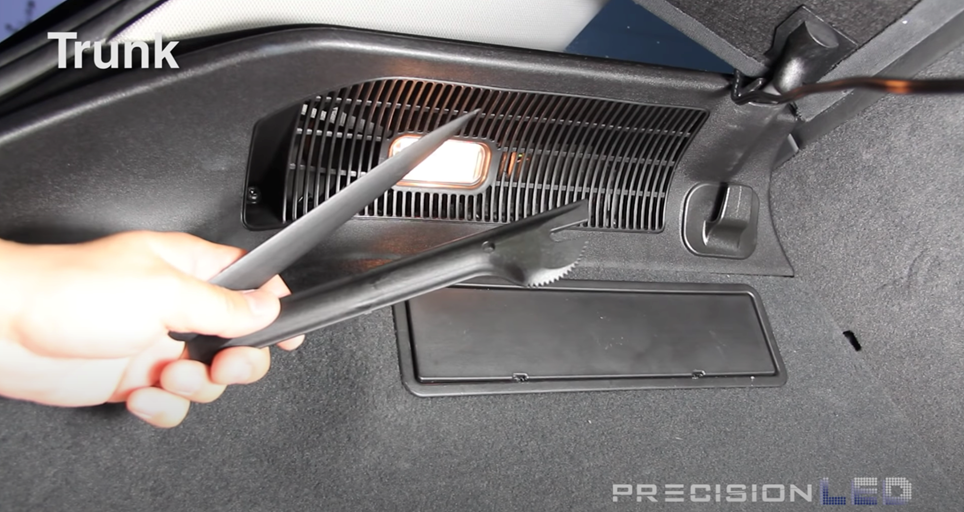
The first step is to remove the trunk light housing from the liner. Using one of the wedge-shaped tools, gently pry from the spot with the indentation on the plastic lens. Once you have it off, you will need to remove the connector to gain better access.
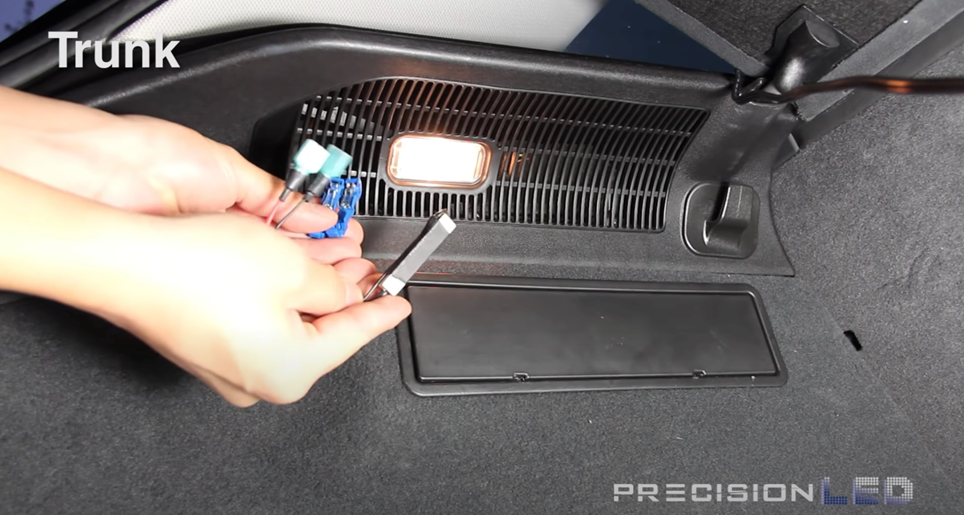
At this point, you will want to pry off the ends of the Audi A3 interior light connectors that are in place.
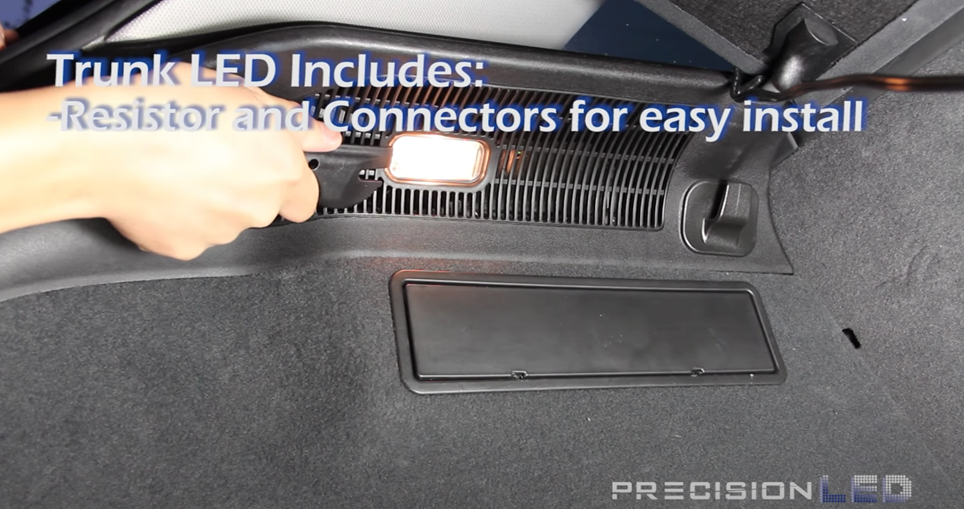
Once you have the housing removed from the wire connector, you can go ahead and use the quick-splice connector included in your kit to tap into the ground and power wires for the resistor.
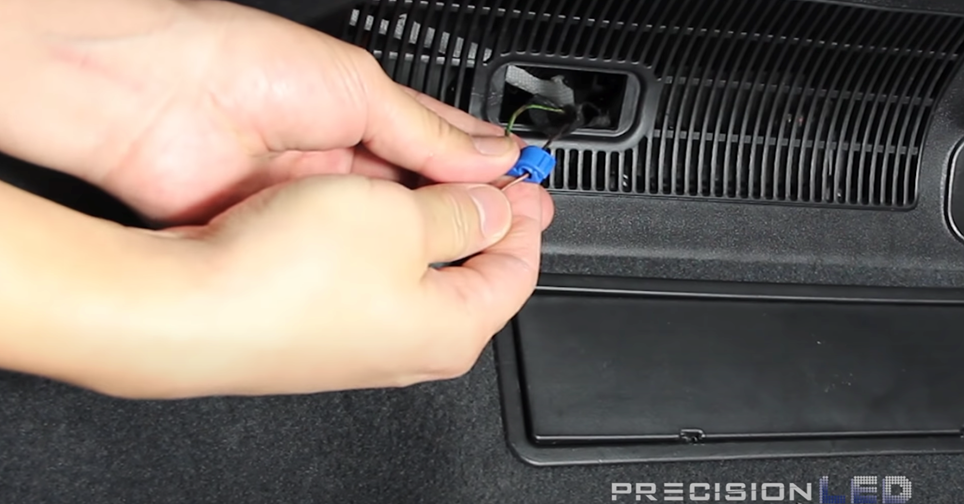
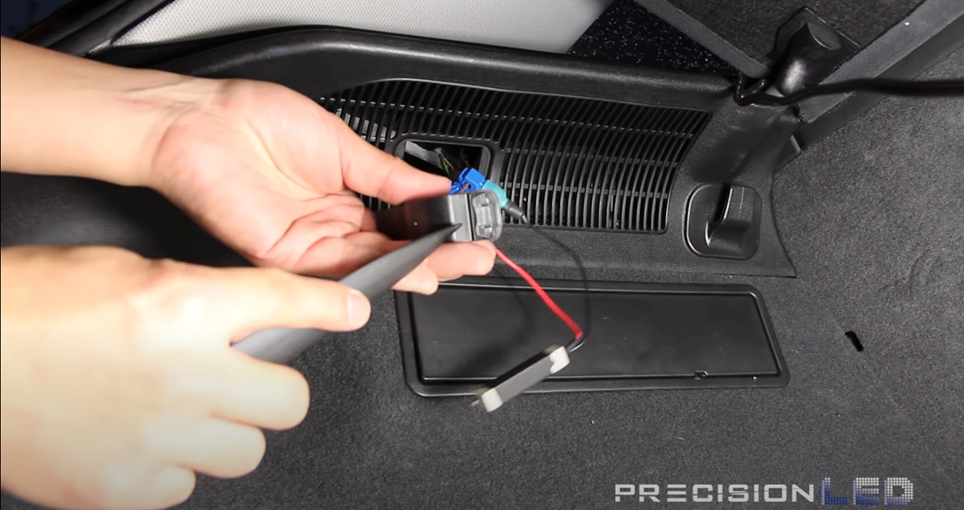
Once that resistor is wired in, you can go ahead and use a pointed wedge tool to open up the casing. Go ahead and replace the Audi A3 interior halogen light bulb with the LED. Then, close and open the trunk to activate the trunk light to test and see if it works. If it doesn’t work and the light isn’t working, it means the connection for the resistor is not making contact.
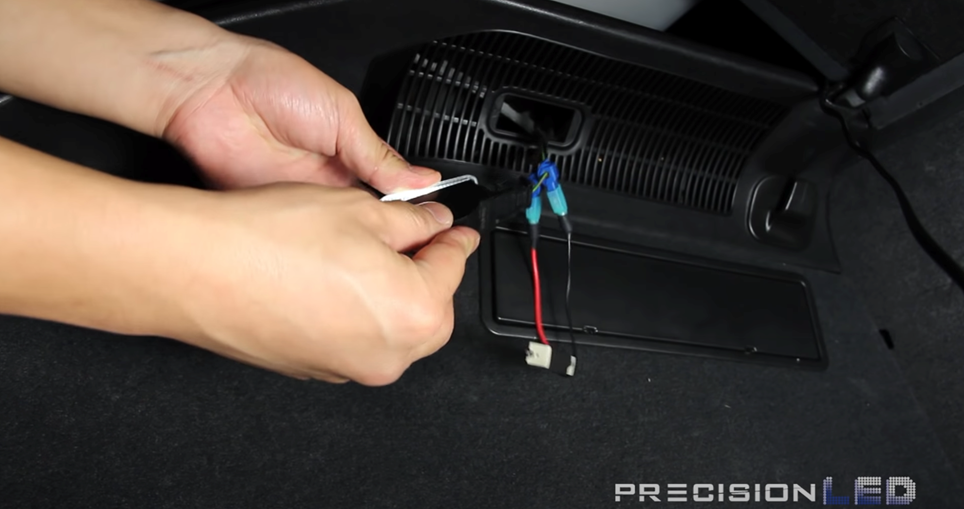
If it works fine, insert the resistor into the slot where the housing goes and then reinstall the trunk light housing back into its position, and then you’re done!
If you have questions just leave a comment below or email us at Help@Precisionled.com. Email will automatically open up a service ticket and one of our amazing support specialists will do their best to assist you. Or, call our help center. You can also feel free to visit our FAQ page. Get your Audi A3 interior lights installed with zero stress!
The video shared at the start of this post is just one of many in our 100% free instructional library. And if you liked this article, you should check out the rest of our blog.
We offer premium LED lights for all kinds of Audis complete with the same excellent customer service we always offer.
Purchase the PrecisionLED Audi A3 Package Here!
Cheers,
-Phil @ PLED


