DIY’ers,
Brought a 2011 Hyundai Sonata (No Sunroof) back from a good friend to go through the Premium LED installation and snap some new photos. We wanted to make sure the installation went similar to our standard kit and also wanted to provide some new photos for the product page to show the increase in brightness. Check out the tips and tricks below and make sure to watch the original Hyundai Sonata LED Installation video to get the basics down.
Now that you have reviewed the original installation, lets take a look at the few modificiations and new bulbs used on the Premium LED Package. For referense, the Premium LED kit has been linked below.
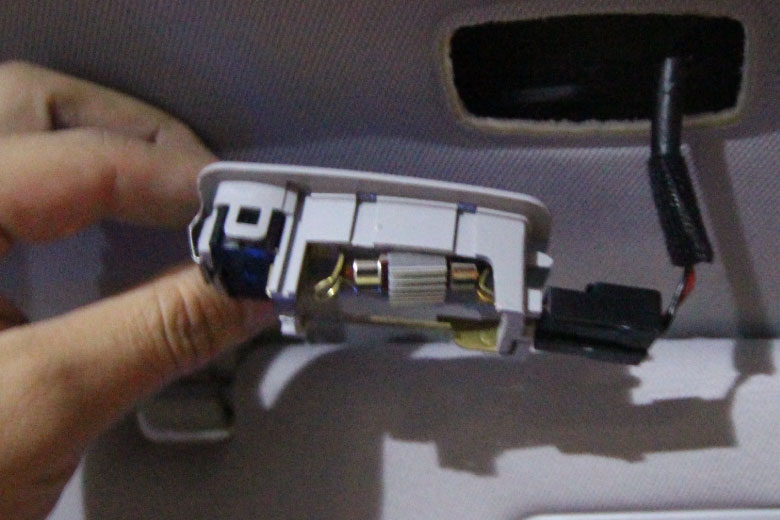
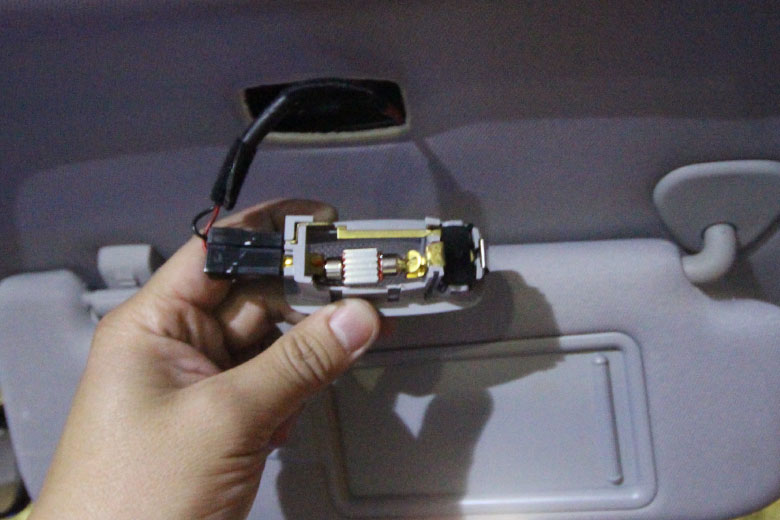
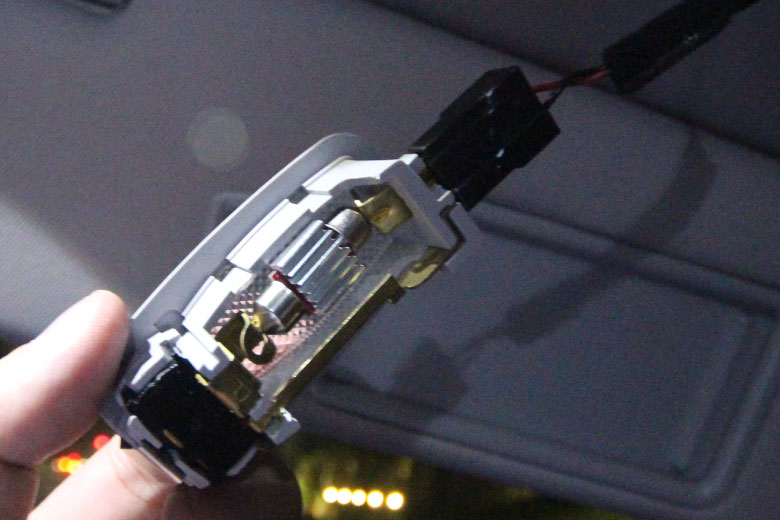
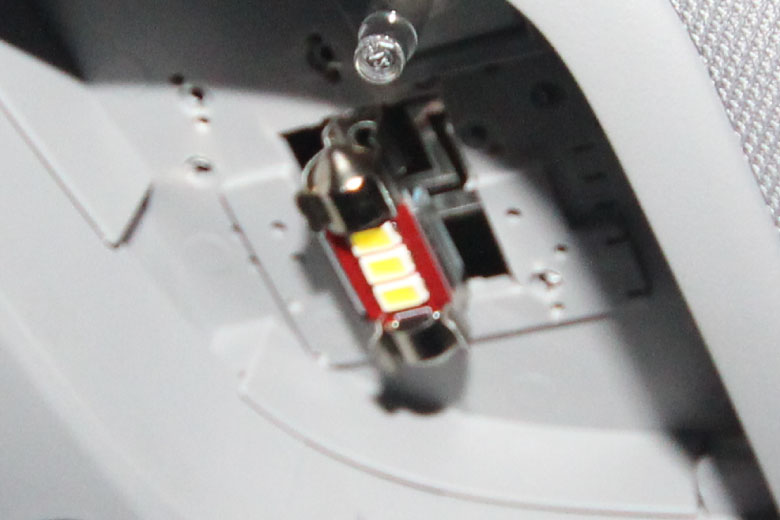
The main difference with our Standard and Premium kit is the slight variation in length of the Vanity Mirror Light and Trunk light bulb. This difference and the modification necessary to achieve fitment is what this post will concentrate on explaining. For whatever reason, the festoon type bulb used in the vanity mirror and turnk light bulb is slightly larger than the OEM halogen bulb by about 1 mm. This small difference makes the LED bulb rather difficult to install without bending the contact pins that hold the bulb in place. We are happy to report that with some slight bending of the copper ends, we were able to snugly fit the bulbs in without much problem at all.
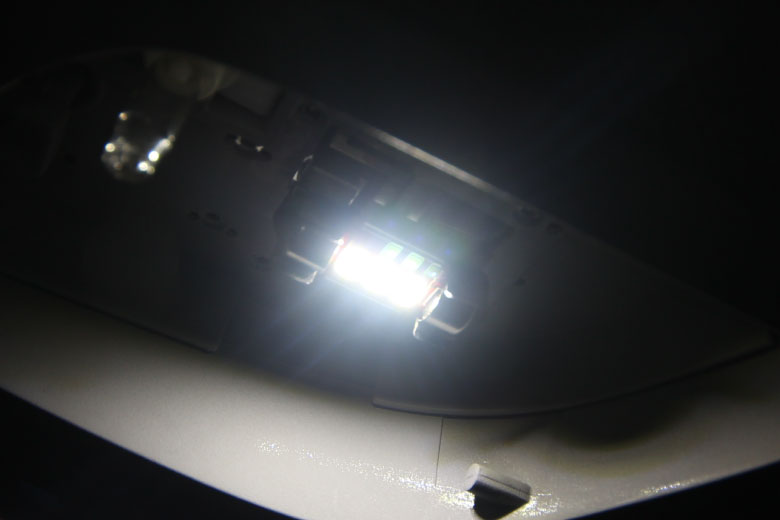
The vanity mirror light will need to be adjusted. As you can see, both sides of the copper pins need to be bent inward to account for the increased length of the festoon bulb. Some of you may be asking, why cant you just sell a shorter bulb, well, we would love to but the Premium 5730 type LEDs do not come in a size smaller than this due to the complexity and brightness of the LED. Dont worry, the 2-3 times increase in brightness is well worth the adjustments you make to fit the led.
The Map lights dont have much of a problem at all fitting the slightly longer length. You may need to squeeze the bulb between the two posts but it essentially fits without any issues.
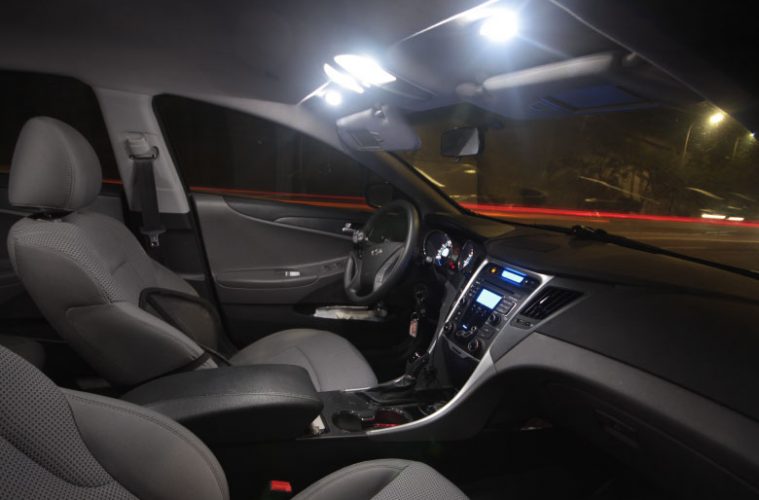
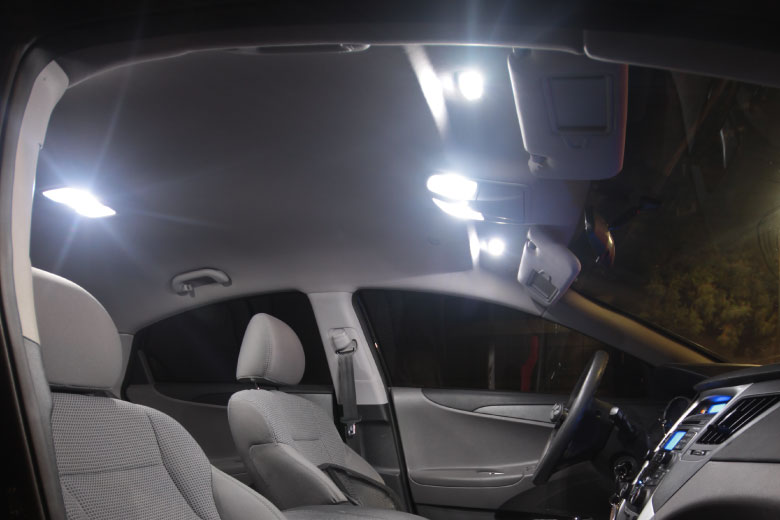
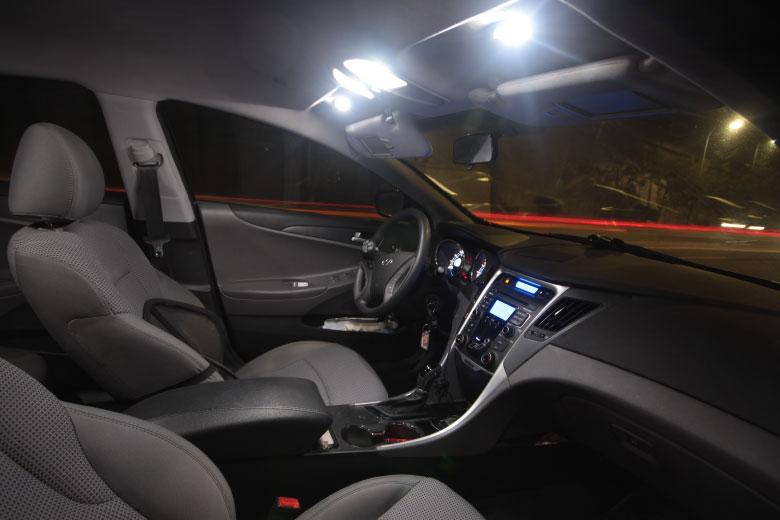
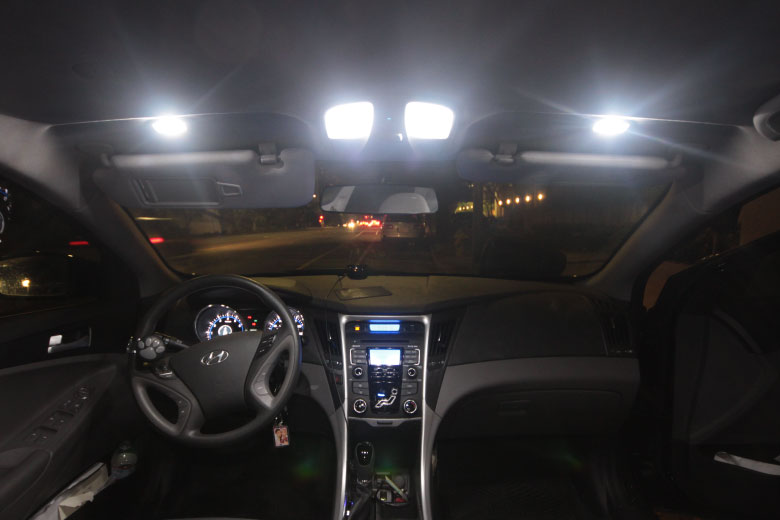
On a side note, the new premium 5730 led is really bright and provides excellent light dispersion in the cabin. The interior lights up and every nook and cranny seems to be visible at night.
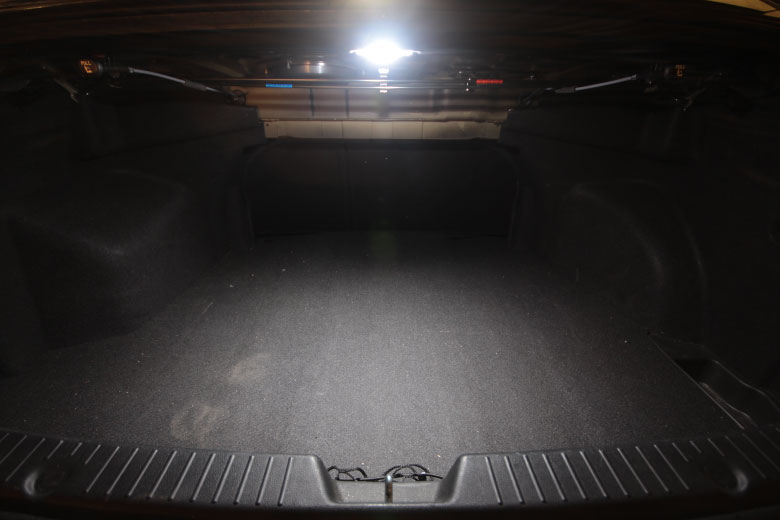
Moving on to the Trunk, the bulb fits snugly and does require just a small adjustment to the copper spring that holds the bulb in place. Needless to say the modification is the same as what is done to the vanity mirror light and does perfectly fine. Check out the finished product below and see how well it lights up the trunk space with just a small replacement LED!
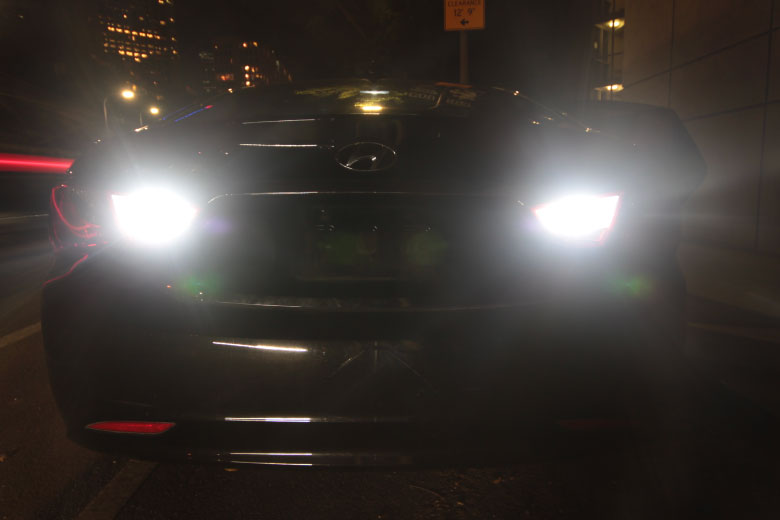
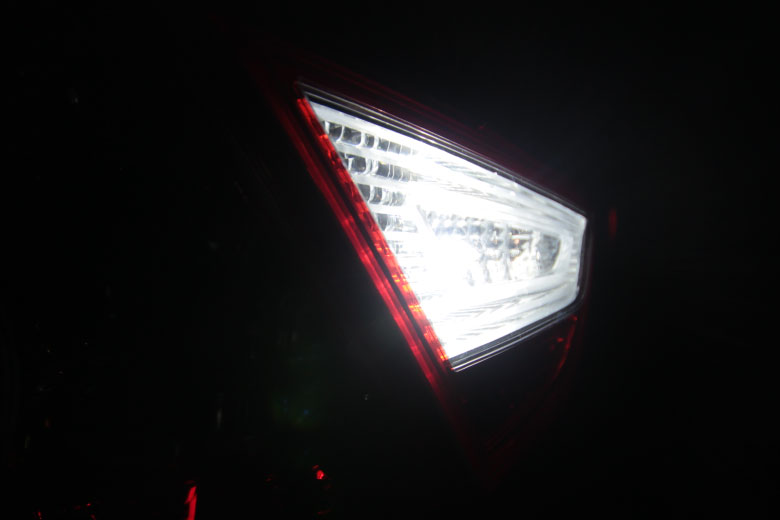
We also had the opportunity to put some new Backup Reverse LEDs in the Sonata and grab some photos. Disclaimer: its very difficult to get good photos of the Reverse lights due to the direct light that hits the camera lens at every angle you shoot from. We will have to pull this car into an empty garage to get good before and after shots but just so you have an idea, I am posting some quick shots below.
Finnally, here are some all around shots of the interior that I really liked. Unedited raw files, cropped to 780 x 520.
If you have questions just leave a comment below or email us at Help@Precisionled.com. Email will automatically open up a service ticket and one of our amazing support specialists will do their best to assist you.
Cheers,
-Phil @ PLED

