We had the chance to do a quick install for a friend on the 2013 Volkswagon Golf GTI MK6. We have been meaning to get our hands on this car for some photos and verify our kits potential on the interior and took the opportunity to snap some shots for you. I am happy to say that the install went flawlessly and the lights look great. We used the Premium LED Interior Kit and link is below for those of you interested in the kit.
Volkswagen Golf Premium Interior LED Lighting Package 2010-2013 MK6
The MK6 does require a T20 Torx bit to get access to the overhead map lights in the front, but other than that, the trim tools that come in the LED package are all that you need to succeed so lets get to it!
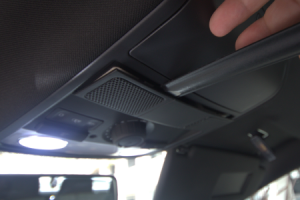
Step 1: Flip down the panel covering the Mic port to access the Torx screws holding the Overhead console in place. Use the flat end of one of the trim tools to wedge in between the panels and pry it lose.
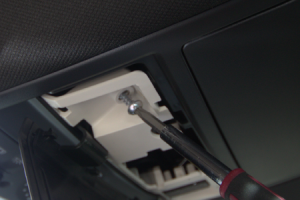
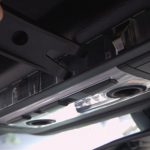
Step 2: Once the screws are out, the panel will drop down quite easily to reveal the 2 Map lights that we will be replacing. For this demonstration, we are using our new Premium CANBus equipped 5730 type LEDs throughout. The bulbs are held in with small circular socket connectors that you twist to unlock from the circuit board. Remove the old halogen bulbs from the circular socket and put your LEDs in.
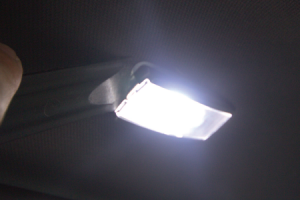
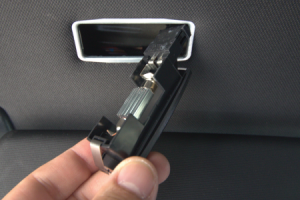
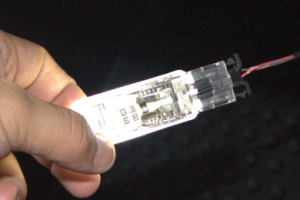
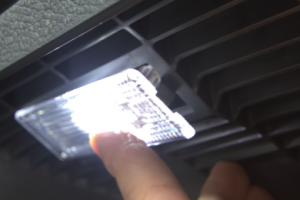
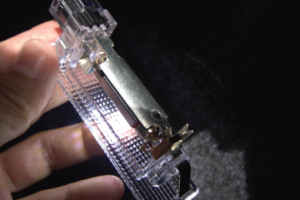
Step 3: Lets move along to the vanity mirror lights. I have no idea why I took these photos with the LED light on but you should be able to see how these lights come out of the roof liner. You need to use the flat end of the trim tool to seperate the housing from the roofliner and it just pops out. Its important to note that only one side will pop out because the other side is connected to the wiring harness. Be careful when you do this! As you start to pry with the tool, look for the flash of silver from the pressure plate that keeps the housing secure. If you see black and clear plastic only, you are prying from the wrong side.
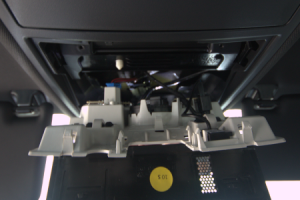
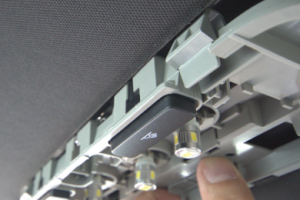
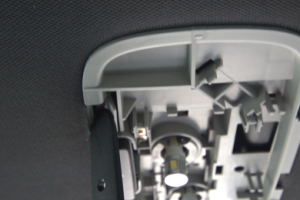
Step 4: Moving right along, its time to get those rear overhead console lights replaced. The black trim pops off with some gently nudging from the edges and is not much to worry about. You can actually replace the bulbs at this point because you have direct access. The one caveat is that if the bulbs are super tight in their respective sockets, they will be very difficult to remove. What I ended up doing was removing the housing from the roofliner and popping the bulbs out from the back to get better leverage. There are 2 plastic clips that need to be bent inward to release the housing from the roofliner. I used one of the fatter thinner trim tools to pop each side out. Once you have those two clips released, you pull down at an angle and the housing drops down.
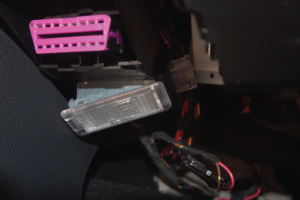
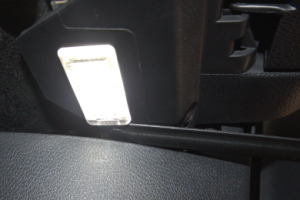
Step 5 Part 1: The driver and passenger side footwell lights are tricky to access but easy to replace. You will likely need to lay on your back and slide under the dash to see what you are doing and youll be down there for a few minutes. The flat side of one of the trim tools comes in handy here in these tight spaces to pop the light housings out. On the passenger side, you need to pry down from the end closest to the door. If you can tell from the photo, the trim tool needs to go above the plastic trim of the kick panel, and then wedged in from the side. This seems to be the best way to get access and once you do, just pry down to pop the housing out. The driver side is much easier since much of the plastic is exposed and you can use your hand to just push the housing out.
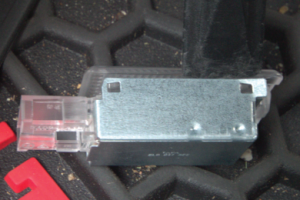
Step 5 Part 2: FYI the pink connecter is your ECU if you were planning on reprogramming something or checking an error code. Now that you have these suckers out, you might be wondering how exactly to access the bulb. There are metal covers that surround the entire housing and yes you need to bend them slightly to get them off to replace the bulbs. YOU MUST REMOVE THE POWER CONNECTER BEFORE REMOVING THE METAL COVER. If you dont do this, you risk touching the metal housing to the metal leads inside the housing and short circuiting the connection. I do not have a guide on how to replace your fuse so you would be on your own there. I highly recommend you test the new LED bulbs before putting the metal covers back on. If you dont, youll have to bend the metal housing again and the more you do that, the weaker the metal gets and the less likely it is to return to its original shape.
Step 6: The Trunk light is simple except it has this reflector plate placed very close to the bulb to increase brightness that makes it difficult to remove the old bulb. If you use the pointed end of one of the trim tools you should be able to pop this one out without much difficuly. Again, unplug the light from the socket before doing this because you could blow your fuse in the process if you are not careful.
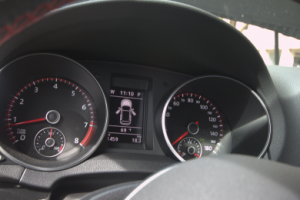
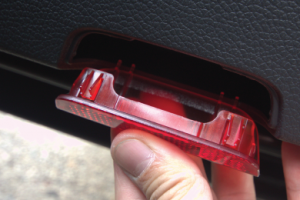
Step 7: This isnt really a step but its always good to check your dash for error code warnings. VW and other German manufactured vehicles have a more complex voltage/current monitoring system and will report bulb out if the resistance of the bulb is too low. The PrecisionLED kit you buy from us will have the proper resistance to prevent error codes, but others may not. At this point, you can basque in the glory of your accomplishment and drink a beer. Also, I was able to remove the red covers on the door panels but there were no bulbs to replace. I dont recall what trim level this MK6 was but other variants, possibly the European MK6 might have a bulb there. If you know, let us know by leaving a comment so we can update the package.
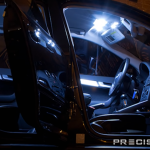
Overall the install, minus the photo taking time took about 30 minutes to complete. The Premium LEDs are crazy bright and make the trim on the MK6 really stand out.
If you have questions about the install feel free to use our contact form to ask or leave a comment. Please be warned however that we try to give technical support to only those customers that purchased from us. We are nice guys but we need to eat you know?
Cheers,
-Phil


